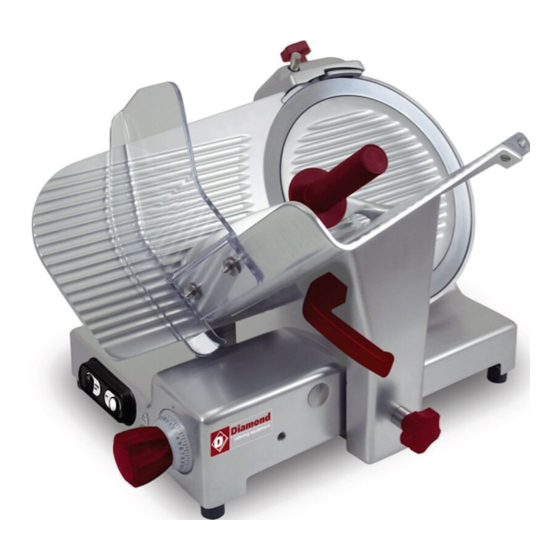
Diamond 350/GXS 운영 및 유지보수 매뉴얼 - 페이지 13
{카테고리_이름} Diamond 350/GXS에 대한 운영 및 유지보수 매뉴얼을 온라인으로 검색하거나 PDF를 다운로드하세요. Diamond 350/GXS 16 페이지. Professional slicer ce

ders and the blade (chapter 6.2.3);
9. once the operation is finished,
replace the sharpening device in its
original position, doing the procedure
in reverse.
N.B.: Do not carry on the deburring operation for more than 3/4 sec. to
avoid the damaging bending of the blade edge.
CHAP. 6 - ROUTINE CLEANING
6.1 - GENERALITIES
Cleaning the machine must be carried out at least once a day or, if necessary,
more frequently .
All the parts of the slicer that come in direct or indirect contact with the food to
be cut must be scrupulously cleaned.
The slicer must not be cleaned with water cleaning machines or water jets, but
with the product provided and/or with neutral detergents (pH 7). The use of
any other detergent is prohibited. Utensils, brushes and whatever else could
damage the machine surface must not be used.
Before carrying out any cleaning operation it is necessary to:
1. disconnect the plug from the electrical network to completely isolate the machi-
ne from the rest of the system;
2. Bring the graduated handgrip which regulates the thickness gauge to "0".
WARNING: Be careful of residual risks from sharp and/or pointed parts.
6.2 -
CLEANING THE MACHINE
6.2.1 - Cleaning the goods holder plate
The trolley (plate + arm + stem) is
easily transportable:
bring the graduated handgrip to "0" (1
-
Fig. n°46);
bring the trolley (2) to the end of its
-
run (a) from the controls side; partially
unscrew the plate lock handgrip (3),
pull the trolley towards the operator;
completely unscrew the plate lock
handgrip, therefore lift the trolley up (b
- Fig. n°46);
having taken off the trolley, the goods
-
holder plate can be carefully cleaned
3
2
Fig. n°45
b
3
a
1
Fig. n°46
22
with warm water, the equipped
detergent or neutral detergent (pH 7)
Fig. n°47.
6.2.2 - Cleaning the blade, the bladeguard and the ring
WARNING: a pair of metallic gloves must
be worn while cleaning the blade (1)
(Fig. n°48) ed utilizzando un panno
umido.and a damp cloth must be u-
sed.
Unscrew the handgrip from the blade-
guard tie rod (1) and extract the blade-
guard (2) using the proper grip to hold it
(Fig. n°48). At this point it is possible to
clean the blade a Fig. n°49.
To clean the surfaces opposite the
blade and the ring, the blade must be
extracted in the following way:
1.unhook the bladeguard (Fig. n°48);
2.take out the sharpening device (Fig.
n°50 ref.a) and open, by using the
graduated handgrip, the thickness
gauge enough to make the jig (Fig. n°
50 ref.b) stick to the blade;
3.unscrew the three or four screws i
(Fig. n°50 ref.f), depending on the
model, which fasten the blade;
4.rest the jig (b) on the blade, so that
the split in the jig fits in the ring (Fig.
n°48 ref.c);
5.match the axes of the two holes (Fig.
2
n°50 ref.d) on the blade with the two-
knobs(Fig. n°50 ref.e) on the jig,
simply making the blade turn to the
desired position;
6.screw the two knobs (e) without
excessively tightening them.
N.B. The bladeguard must be clea-
ned with warm water, the equipped
detergente or with neutral detergent
(pH 7).
pH
Fig. n°47
1
3
2
Fig. n°48
Fig. n°49
a
b
f
e
Fig. n°50
23
d
c
