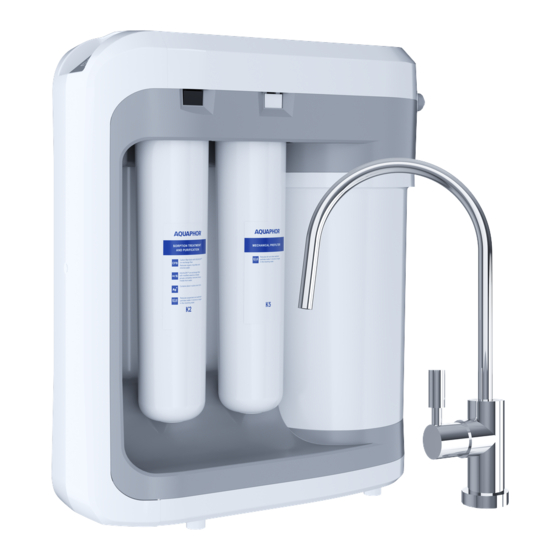
AQUAPHOR DWM-203 성능 매뉴얼 - 페이지 7
{카테고리_이름} AQUAPHOR DWM-203에 대한 성능 매뉴얼을 온라인으로 검색하거나 PDF를 다운로드하세요. AQUAPHOR DWM-203 16 페이지.

Installation of a tap for clean water
• Drill a 12 mm hole in the sink (countertop).
• Attach the rubber shim (2), the decorative stand (3), the rubber gasket (4) to the
threaded shank (1) of the valve and insert the tap into the wash hole.
• From the bottom of the tabletop, put the plastic (5) and metal (6) key lock washers
onto the threaded shank and screw the fixing nut (7) to the stop (a 14 mm tubular
wrench can be used).
• Insert the dark blue tube (10) into the threaded shank of the tap (1) with the end of
the pressed metal sleeve (8) and tighten the cap nut (9) as far as it will go.
• Check the strength of the tube (10). At an effort of 8-10 kgf the tube should not be
pulled out.
Attention! We recommend that you use the clean water
tap supplied with this product.
Use of other taps can cause hum and other
extraneous sounds.
The installation of drainage collar* (fig. 7)
• It is recommended to install the collar on the sink drain (sink) in front of the siphon or
"knee bend" (the drainage collar is suitable for most drainage pipes with a diameter
of about 40 mm).
• Attach a part of the collar with the nozzle fitting to the pipe to determine the optimum
position of the collar and the opening for the tube.
• Drill a hole 7 mm in diameter in the wall of the pipe in the marked location.
• Remove the cut part in the form of a circle from the pad (1).
• Remove the protective film (2) from the pad (1). Glue the pad (1) from the inside of the collar, so that the hole in the pad
matches the hole in the nozzle fitting of the collar.
• Install the collar on the pipe by aligning the hole in the nozzle fitting with the drilled hole in the pipe, and then tighten the
bolts (3). Bolts should be tightened evenly, so that the two parts of the collar are parallel.
• Put on the plastic nut on the JG drainage pipe, so that the tube leaves the other side of the nut at least 20 mm (fig. 7b).
• Insert the tube into the drainage collar and screw the nut onto the nozzle fitting.
If you are worried about the noise of water coming from the drainage collar, push the JG tube deeper into the
pipe.
3
2
* * The manufacturer reserves the right to use the connection points and cranes of a similar design. If you have any questions, please contact the service provider.
1
Fig. 7а
1
2
3
4
5
6
8
10
Fig. 6
Fig. 7b
7
9
7
