Burley ENCORE 사용자 설명서 - 페이지 8
{카테고리_이름} Burley ENCORE에 대한 사용자 설명서을 온라인으로 검색하거나 PDF를 다운로드하세요. Burley ENCORE 12 페이지. Burley 2-wheel stroller kit
Burley ENCORE에 대해서도 마찬가지입니다: 소유자 지침 및 안전 매뉴얼 (15 페이지), 브로셔 및 사양 (5 페이지), 소유자 지침 및 안전 매뉴얼 (12 페이지), 설치 지침 (2 페이지), 소유자 지침 및 안전 매뉴얼 (8 페이지), 소유자 지침 및 안전 매뉴얼 (20 페이지), 소유자 및 안전 매뉴얼 (8 페이지)
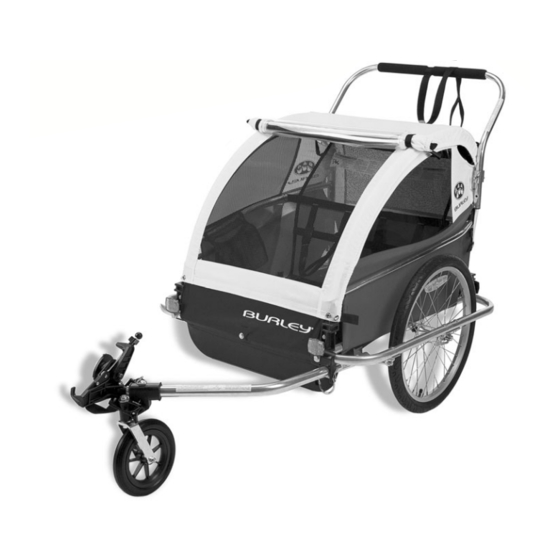
Re-Assembly with the Pivot Wheel
• Slide the wheel pivot assembly over the end of the tongue so that the hole in the
tongue lines up with the hole in the top as shown below.
• Line the hitch connector hole #4 with those same two holes.
• Run the 2-inch bolt provided through the d-ring, and then through the Wheel
pivot assembly, tongue hitch connector.
1
2
3
• Push the bolt through the hole at the bottom, visible in the cavity underneath, and
then secure with the new locking nut provided (tighten to 6 ft-lbs). The end of the
bolt should be fl ush or completely pass through the end of the nut.
• Place the 1-inch bolt (#2) using 2 washers as shown and a locking nut.
• Then place the other 1-inch bolt (#3) through one washer and the remaining hole.
• On the underside of #3 place the safety strap and a locking nut.
• Tighten to 6 ft-lbs using the torque wrench. The end of the bolt must be fl ush with
or completely pass through the nut.
When installed the hitch is re-attached by the bolt
that goes through the tongue (and hitch's fl exible
coupling); the safety strap is anchored, and the
d-ring is on top.
Note: If using the Burley Alternative Hitch,
the fl exible coupling is attached in the same
manner, using the bolt through the tongue.
The safety strap is anchored in the same way,
to the wheel assembly clamp bolt.
8
Burley Walk 'n Roller Manual; models 2003 and earlier
4
5