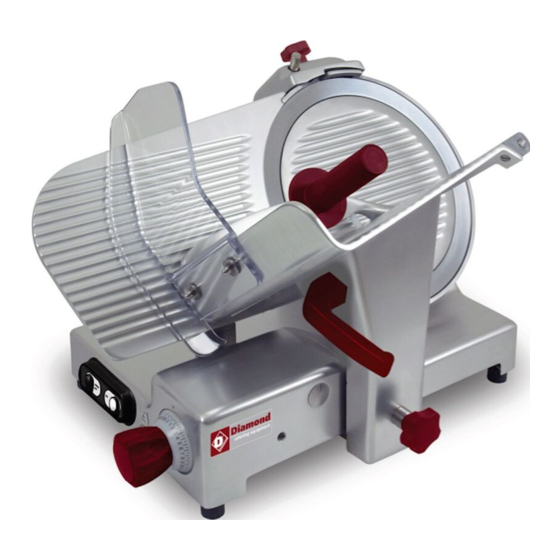
Diamond PL 350 운영 및 유지보수 매뉴얼 - 페이지 14
{카테고리_이름} Diamond PL 350에 대한 운영 및 유지보수 매뉴얼을 온라인으로 검색하거나 PDF를 다운로드하세요. Diamond PL 350 16 페이지. Professional slicer ce

6.2.3 - Cleaning the sliceguard
(Fig. n°51)
To remove the sliceguard simply grasp
the handgrip (1) and pull up so that the
two pins unhook (2), and then extract
the sliceguard.
At this point clean the sliceguard with
warm water, the equipped detergent or
with neutral detergent (pH 7).
6.2.4 - Cleaning the sharpener
To clean the sharpener it is necessary
to adhere to the following instructions:
1. lift (a) the sharpener up to the top;
2. loosen the knob (1);
3. lift (b) the cup (2) and extract it so
that the knob (1) passes through the
larger opening in the cup (2);
4. rub the grinders with a brush, while
cleaning the other components with
warm water, the equipped detergent
or with neutral detergent (pH 7).
6.3 -
SLIDE GUIDES LUBRICATION
The slide guides on the carriage (1-2)
must be lubricated periodically with the
equipped oil (a).
2
Fig. n°51
1
a
Fig. n°52
b
1
2
Fig. n°53
a
2
1
Fig. n°54
24
CHAP. 7 - MAINTENANCE
7.1 - GENERALITIES
Before carrying out any maintenance operations it is necessary to:
a) disconnect the feed plug from the electrical network to completely isolate
machine from the rest of the system.
b) bring the graduated handgrip which regulates the thickness gauge to "0".
7.2 - FEET
The feet could deteriorate in time and lose their elasticity, therefore decreasing
the stability of the machine. Replace them by calling the "SERVICE CENTER".
7.3 - FEEDING CABLE
Periodically check the state of wear and tear of the cable and call the "SERVICE
CENTER" for its replacement.
7.4 - BLADE
Check that the diameter of the blade, after many sharpenings, has not been
reduced more than 10 mm. compared to the original diameter. For its
replacement call the "SERVICE CENTER".
7.5 - GRINDERS
Check that the grinders continue to have their abrasive property during the
sharpening. When they are no longer abrasive they must be replaced as to not
damage the blade, therefore call the "SERVICE CENTER".
7.6 - SLIDING GUIDES LUBRICATION
Occasionally put a few drops of oil (from the tube that is provided) on the round
bar that the trolley slides back and forth on, through the hole (OIL) located on the
side of the graduated handgrip.
7.7 - PUSH-BUTTON PANEL LABEL
The push-button panel label can be marked and/or punctured with time. In such
a case call the "SERVICE CENTER" to replace it.
25
