Aquasana OptimH2O AQ-RO-3 소유자 매뉴얼 - 페이지 5
{카테고리_이름} Aquasana OptimH2O AQ-RO-3에 대한 소유자 매뉴얼을 온라인으로 검색하거나 PDF를 다운로드하세요. Aquasana OptimH2O AQ-RO-3 10 페이지. Whole house water filter
Aquasana OptimH2O AQ-RO-3에 대해서도 마찬가지입니다: 소유자 매뉴얼 (14 페이지), 소유자 매뉴얼 (11 페이지), 소유자 매뉴얼 (16 페이지)

6
INSTALLATION STEPS
5
Cut Pipes
1. Using a pipe cutter, cut into the main water supply line
along the marked sections from step 4 to install the
shut-off valve and clean ends of pipe. Ensure there are
no burrs, sharp edges, or deep scratches. Cut tubing as
straight as possible with a utility knife, or an appropriate
pipe cutter for copper tubing or PVC.
2. Loosely fit shut-off valve to calculate proper spacing of components.
NOTE: DO NOT cut more pipe than necessary. You can cut more pipe later if
needed. If you're also installing a bypass loop, do so at this time.
6
Configure System
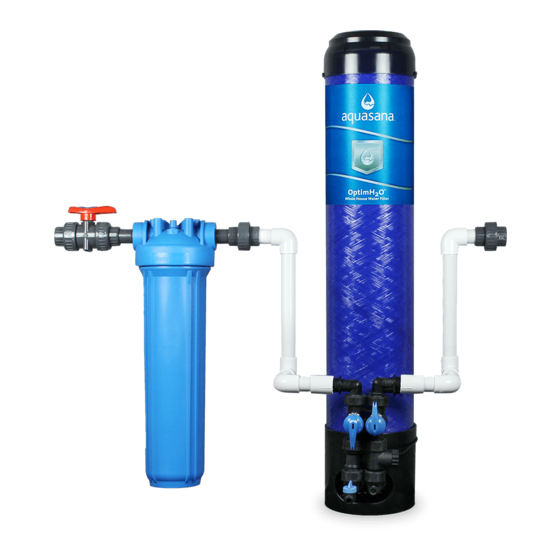
Fit OptimH2O tank and additional optional add-ons into the system at this
time. Screw Pre-Filter support bracket onto the wall and attach filter.
NOTE: Ensure wall material is stable enough for mounting purposes. The filter
housing will become very heavy when full of water.
Properly connect system together accordingly (slip fittings, barbed fittings,
NSF certified PVC glue, etc.). Ensure all parts are flowing through the "IN"
port in the correct direction of water flow.
7
Remove Top Cap
1. Push down the top cap with both
hands to unseat the snap ring,
and remove the snap ring by
carefully grasping the handle and
pulling inward, then upward. The
snap ring should slide completely
out of the groove.
2. Remove the top tank snap ring. Remove the top cap from the housing
assembly. Pull the cap out of the top of the tank by lifting up on the handles.
8
Prepare Filter
1. Remove packaging from
the filter cartridge. Place
the filter cartridge into
the tank with the double
O-ring facing down.
Position the cartridge so
that it is aligned with the
bottom, center opening.
2. Press down on the cartridge so that the
double O-ring seal moves into place within
the bottom, center opening.
INSTALLATION STEPS
7
NOTE: You should see a
small opening centered in
the bottom of the tank.
