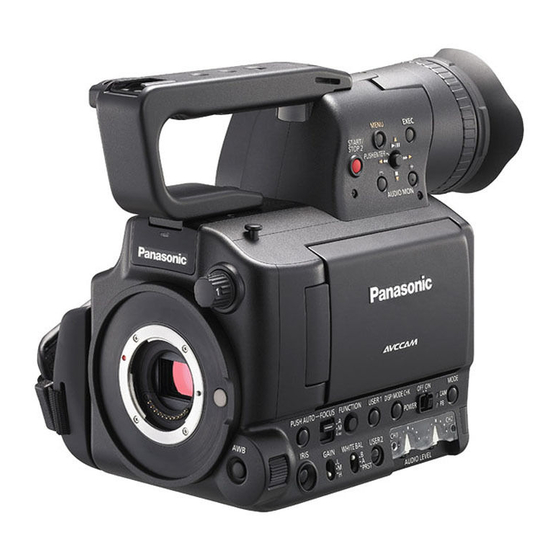
Panasonic AG-HMC40PJ 매뉴얼 - 페이지 6
{카테고리_이름} Panasonic AG-HMC40PJ에 대한 매뉴얼을 온라인으로 검색하거나 PDF를 다운로드하세요. Panasonic AG-HMC40PJ 18 페이지. Editing avchd with imovie 09
Panasonic AG-HMC40PJ에 대해서도 마찬가지입니다: 사용자 설명서 (7 페이지), 매뉴얼 (19 페이지), 매뉴얼 (14 페이지), 매뉴얼 (13 페이지)

noTe: Panasonic recommends 3
verification. Shot Put Pro provides a safe backup to multiple simultaneous target locations (such as hard drives and/or
Blu-ray burners) with validation of the copy. Please see
TrAnsferrIng AVChD fooTAge DIreCTlY from The
pAnAsonIC AVCCAm CAmCorDers To Your mAC.
You cantransfer your AVCHD footage directly from your camera. The next few steps will show you how to do this.
Unfortunately, this ties up your camera and precludes you from shooting with it while you are transferring.
Note: AVCCAM cameras do not have a IEEE1394 Fire Wire output, only USB. Since the AVCHD format is file based (not
streaming oriented), there is no requirement for a Fire Wire output.
sTep #1 – ConneCT your panasoniC Camera Via a usb Cable To your CompuTer.
Note: It is recommended to connect your camera to an AC power supply, as a low battery could damage your
transferring footage. Also, write protect the card as instructed before.
sTep #2 - Turn The Camera To The pC on posiTion
On the ag-hmC70 shoulder-mount camcorder, this is accomplished by moving the record
button to PC. This puts the camera into USB device mode, making it appear as a card reader
to the MAC OS. The SDHC card inside the camera will mount on the desktop as a No Name
Volume.
On the ag-hmC150 handheld camcorder, you must push the mode button on the back of the
camera. The light will change from Cam to PB for playback, push again and the PC light will turn
on. This puts the camera into USB device mode, making it appear as a card reader to the MAC
OS. The SDHC card inside the camera will mount on the desktop as a No Name Volume.
party applications such as Shot Put Pro from Imagine Products for copy and
rd
www.imagineproducts.com
for more information.
6
