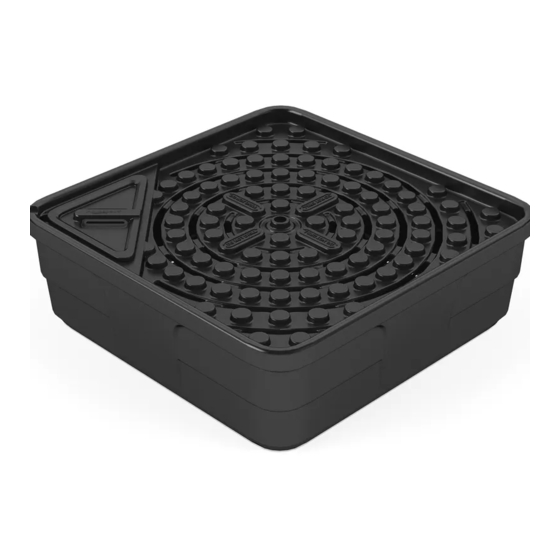
AquaScape AQUABASIN 45 지침 및 유지 관리 - 페이지 5
{카테고리_이름} AquaScape AQUABASIN 45에 대한 지침 및 유지 관리을 온라인으로 검색하거나 PDF를 다운로드하세요. AquaScape AQUABASIN 45 12 페이지.
AquaScape AQUABASIN 45에 대해서도 마찬가지입니다: 지침 및 유지 관리 (6 페이지), 지침 및 유지 관리 (12 페이지)

• When installing multiple pieces on the
basin, one or more deck cylinders may
need to be drilled to run plumbing
directly to each piece.
• Determine the desired location of each
fountain piece and identify which deck
cylinders need to be drilled. Then, using
a spade bit or hole saw, drill a hole for
each plumbing line (Figure 6).
Note: DO NOT modify areas labeled "DO
NOT DRILL."
• Carefully place the selected fountain(s)
on the basin with plumbing running
through the drilled cylinder(s) (Figure 7).
• Level the decorative fountain piece(s)
from side-to-side and from front-to-back.
If not level, water may not flow out of the
fountain evenly, leading to water splash-
ing out of the basin.
• Place the pump in the basin and connect
the plumbing to the pump. The plumbing
should fit snug to create a watertight
seal. If the plumbing fits loosely, a hose
clamp (not included) can be used to
secure the attachment (Figure 8).
Note: Aquascape Ultra
clude a single or three-way valve to simplify
plumbing assembly and flow control
(Figure 8).
US (866) 877-6637 |
Figure 6
Figure 7
Water Pumps in-
®
CAN (866) 766-3426 | aquascapeinc.com
• Run the pump cord out through the ac-
cess panel, using the built-in cord relief
at the corner.
• Internal plumbing support allows plumb-
ing to sit below the deck as it travels to
the fountain(s) (Figure 9).
Add optional LED lighting
• Aquascape Garden and Pond LED
Lighting (not included) can be added to
bring the water feature to life at night.
• Deck cylinders can be drilled to run low
voltage lighting cables beneath the deck,
keeping them out of view (Figure 11).
• Determine the desired location of each
light and identify which deck cylinders
need to be drilled. Then, using a spade
bit or hole saw, drill a 3/4" hole in each
selected cylinder designated for lighting
cables (Figure 10).
Note: DO NOT modify areas labeled "DO
NOT DRILL."
Figure 8
Figure 9
Figure 10
5
