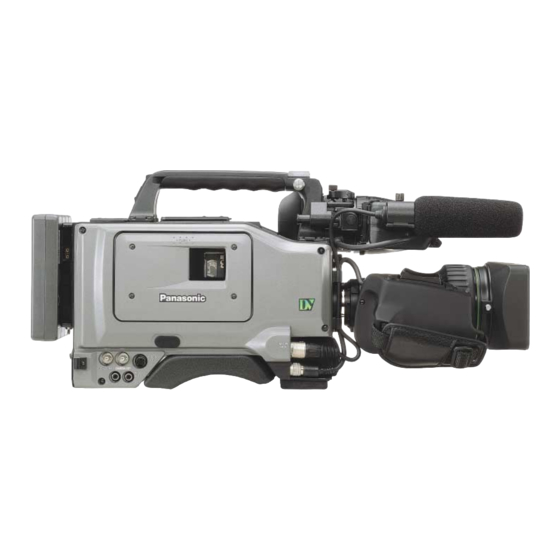
Panasonic AGDVC200 - DV CAMCORDER 사용 설명서 - 페이지 30
{카테고리_이름} Panasonic AGDVC200 - DV CAMCORDER에 대한 사용 설명서을 온라인으로 검색하거나 PDF를 다운로드하세요. Panasonic AGDVC200 - DV CAMCORDER 44 페이지. Digital video camera recorder
Panasonic AGDVC200 - DV CAMCORDER에 대해서도 마찬가지입니다: 사용 설명서 (45 페이지), 사양 (4 페이지)

Menu operations
The MENU button and JOG dial button are used for the setting
menu operations. The menus consist of main menus and sub-
menus. The data set on the sub-menus is saved in the non-volatile
memory and stored for a prolonged period of time.
Menu display enable/disable
1
Press the MENU button.
The main menu SCENE screen is displayed.
2
When the JOG dial button is pressed, the
main menu MAIN 1/2 screen is displayed.
3
When the JOG dial button is pressed, the
main menu MAIN 2/2 screen is displayed.
4
When the JOG dial button is pressed
again, the display returns to the SCENE
screen.
5
To clear the menu screen, press the MENU
button.
Press the MENU
button.
}
Press the MENU
5
SCENE
}
Press the JOG dial
button.
}
Press the MENU
5
MAIN 1/2
}
Press the JOG dial
button.
}
Press the MENU
5
MAIN 2/2
}
Press the JOG dial
button.
Displaying sub-menus and
deciding on settings
1
Rotate the JOG dial button while the main
menu is displayed.
The cursor moves to the sub-menu items.
5
Menu screen is
button.
cleared.
button.
button.
2
#
Move the "
" to the desired sub-menu
item, and press the JOG dial button.
The sub-menu screen now appears. ("#" appears at the sub-
menu title.
Rotate the JOG
Example:
dial button.
3
Rotate the JOG dial button to move the
cursor to the sub-menu item to be
changed, and press the JOG dial button.
The setting now flashes.
Example:
Rotate the JOG
dial button.
4
Rotate the JOG dial button to change the
setting, and press the JOG dial button at
the desired setting. The setting is now
entered.
Example:
Rotate the JOG
dial button.
5
If there is another item to be set, rotate the
JOG dial button to move the cursor, and
decide on the setting by performing steps
3 and 4.
6
To move to another sub-menu, rotate the
JOG dial button to move the cursor to the
sub-menu title, and press the JOG dial
button.
The main menu screen now appears.
procedure.
7
Upon completion of the settings, press the
MENU button.
The settings are stored in the memory, the setting menu mode
is exited, and the normal operation mode is restored.
30
N E X T ¢¢¢¢ MAIN 2/2 ¢¢¢¢
I
#M A R K E R / Z E B R A . .
V F D I S P L A Y 1 / 2 . .
V F D I S P L A Y 2 / 2 . .
! L E D . .
G E N L O C K . .
C A M E R A I D . .
T I M E / D A T E . .
D I A G N O S T I C . .
3< M A R K E R / Z E B R A >
I
#
S A F E T Y Z O N E
: 0 6
C E N T E R M A R K
: O N
Z E B R A 1 D E T E C T : 0 7 0 %
Z E B R A 2 D E T E C T : 0 8 5 %
Z E B R A 2
: S P O T
V F D T L
: 1
3 < M A R K E R / Z E B R A >
I
#
S A F E T Y Z O N E
: 0 6
C E N T E R M A R K
: O N
Z E B R A 1 D E T E C T : 0 7 0 %
Z E B R A 2 D E T E C T : 0 8 5 %
Z E B R A 2
: S P O T
V F D T L
: 1
Follow the same
