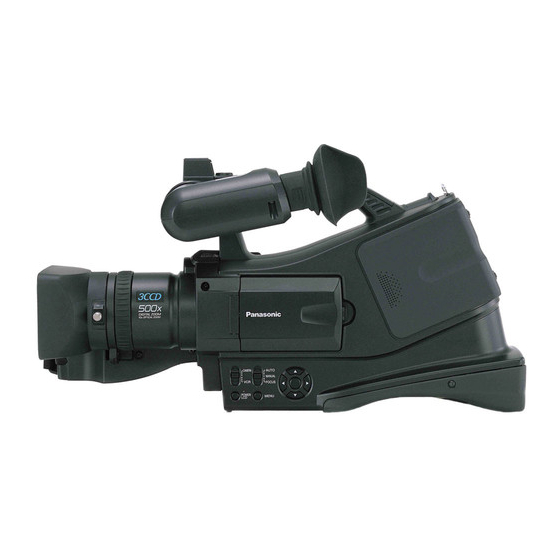
Panasonic AGDVC20P - 3 CCD DV CAMCORDER 사용 설명서 - 페이지 30
{카테고리_이름} Panasonic AGDVC20P - 3 CCD DV CAMCORDER에 대한 사용 설명서을 온라인으로 검색하거나 PDF를 다운로드하세요. Panasonic AGDVC20P - 3 CCD DV CAMCORDER 42 페이지. Agmini-dv camera/recorder
Panasonic AGDVC20P - 3 CCD DV CAMCORDER에 대해서도 마찬가지입니다: 사용 설명서 (40 페이지), 사용 설명서 (42 페이지)

Audio dubbing
You can add music or narration to the recorded cassette.
≥Set to Tape Playback Mode.
1
Insert an external microphone securely into the
[EXT MIC] terminal as far as it will go.
2
Find a scene that you want to add sound to, and press
the [;] button on the remote control.
V
W
/REW
PLAY
FF/
STILL ADV
PAUSE
STILL ADV
STOP
3
Press the [A.DUB] button on the remote control to make
audio dubbing ready.
¥
REC
A.DUB
V
W
/REW
PLAY
FF/
STILL ADV
PAUSE
STILL ADV
4
Press the [;] button on the remote control to start audio
dubbing.
V
W
/REW
PLAY
FF/
STILL ADV
PAUSE
STILL ADV
STOP
≥Talk into the microphone.
5
Press the [;] button on the remote control to stop audio
dubbing.
V
/REW
STILL ADV
≥If a tape has a non-recorded portion when the tape is dubbed,
images and sounds may be disturbed when this portion of the
tape is played back.
30
EXT MIC
;
W
VOL
ZOOM
A.DUB ;
T
W
VOL
A.DUB ¥
W
VOL
PLAY
FF/
W
W
VOL
PAUSE
STILL ADV
STOP
Edit mode
ª
Before recording with audio dubbing
≥Set to Tape Recording Mode.
≥When you want to preserve the original sound taken during
recording, set [SETUP] >> [AUDIO REC] >> [12bit] to take
pictures. (When set [16bit], the sounds taken during recording
are erased after recording with audio dubbing.)
≥Set [BASIC] >> [REC SPEED] >> [SP] to take pictures.
ª
To play back the sound recorded with audio
dubbing
You can switch between the sound recorded with audio
dubbing and the original sound.
Set [SETUP] >> [12bit AUDIO] >> [ST2] or [MIX].
[ST1]: It only plays back the original sound.
[ST2]: It only plays back the sound added by audio dubbing.
[MIX]: It simultaneously plays back the original sound and the
sound added with audio dubbing.
