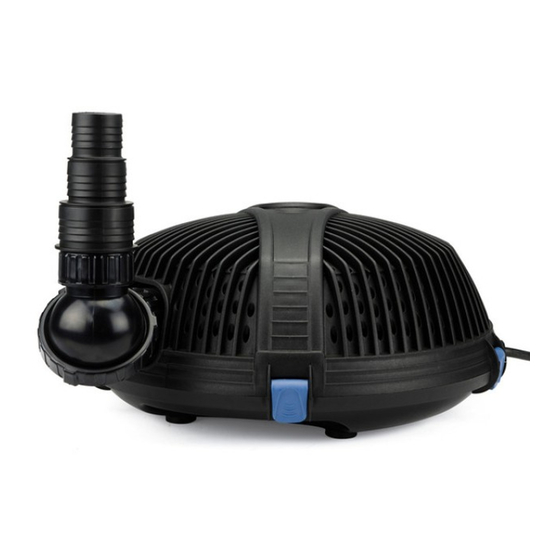
AquaScape AQUAFORCE 1000 지침 및 유지 관리 - 페이지 7
{카테고리_이름} AquaScape AQUAFORCE 1000에 대한 지침 및 유지 관리을 온라인으로 검색하거나 PDF를 다운로드하세요. AquaScape AQUAFORCE 1000 16 페이지. Solids-handling pond pump
AquaScape AQUAFORCE 1000에 대해서도 마찬가지입니다: 지침 및 유지 관리 지침 (16 페이지), 사용 설명서 (16 페이지)

• Remove the screws
securing the pump
restraining bracket,
allowing the pump to be
lifted from the lower cage.
• For easier pump access, pull the power cord free from the
strain relief.
• Remove the four screws that hold the water cover
chamber and inspect the impeller rotor assembly.
• If your rotor assembly impeller and internal pump body
have excessive scale build-up, clean with a mild acid,
such as white vinegar or non-abrasive calcium, lime and
rust remover product. A sponge or soft-bristled brush that
won't scratch the stainless steel can be used at this time.
Removing scale build-up will allow your pump to run like
new again.
Replacing the Impeller/Rotor Assembly
• For Model 3600 & 5200:
When replacing the
AquaForce
3600 or 5200
®
rotor-impeller assembly
into the pump chamber,
note the proper orientation.
The raised key on the
impeller face plate should
be lined up with the groove
in the pump housing.
• For Models 1000, 1800 and 2700: The 1000, 1800 and
the 2700 models allow the impeller-rotor assembly to be
inserted into the pump body with no special alignment
guides needed.
PUMP FLANGE PIN
• AquaForce® 5200 ready for reassembly: The water
chamber cover will only fi t back onto the pump with the
top of the tear-drop shapes lining up, along with matching
the hole in the cover with the pin on the face of the pump
motor fl ange.
PUMP
FLANGE PIN
GROOVE
RAISED KEY
PUMP WATER
COVER HOLE
PUMP WATER
COVER HOLE
7
