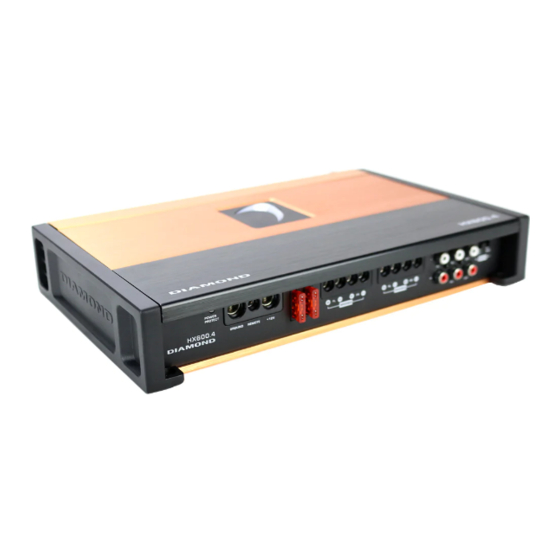
Diamond Audio HX1200.5D 소유자 매뉴얼 - 페이지 5
{카테고리_이름} Diamond Audio HX1200.5D에 대한 소유자 매뉴얼을 온라인으로 검색하거나 PDF를 다운로드하세요. Diamond Audio HX1200.5D 16 페이지. Multi-channels

5. Prepare the ground wire for attachment to the amplifier by stripping 5/8" of insulation from the end of the wire. Always
use a wire of the same gauge as the power connection, never smaller. Insert the bare wire into the GND terminal and
tighten the set screw to secure the cable in place. Prepare the chassis ground by scraping any paint from the metal surface
and thoroughly clean the area of all dirt and grease. Strip the other end of the wire, crimp and soldier a ring connector.
Fasten the cable to the chassis using a non-anodized screw with a star washer and a nut.
WARNING:
It is important to upgrade the ground
connection between the negative (-) battery post and the
vehicle body or chassis to achieve optimum electrical
performance.
6. Prepare the REM turn-on wire for attachment to the amplifier
by stripping 5/8 inch (15.9mm) of insulation from the end
of the wire. Insert the bare wire into the REM terminal and
tighten the set screw to secure the wire in place. Connect the
other end of the REM wire to a switched 12 volt positive
source. The switched voltage is usually taken from the
source unit's remote amp turn on lead. If the source unit
does not have this output available, the recommended
solution is to wire to an accessory terminal in the car's fuse
block using a relay to isolate the amplifer from the vehicles
accessory circuit. This however will turn the amplifier on and
off with the ignition key, regardless of whether the car stereo
is on or off.
7. Securely mount the amplifier to the vehicle or amp rack. Be careful not to mount the amplifier on cardboard or plastic
panels. Doing so may enable the screws to pull out from the panel due to road vibration or sudden vehicle stops.
8. Connect from source signal by connecting the RCA audio cables to the input jacks at the amplifier.
9. Connect the car speakers. Speakers impedance should never be less than 2 Ohms stereo, 4 Ohms bridged(HX1200.5D sub
channel is stable into 2 ohms). For most applications 18 gauge wire is adequate for the speaker leads. For leads in excess
of ten feet, 16 gauge wire is recommended. Strip the speaker wires 1/2" (12.7mm) and insert into the speaker terminal
block, then tighten the set screw to secure into place. When wiring the speakers, pay careful attention to the polarity of the
terminals on the speakers and make certain they correspond to the polarity on the amplifier. DO NOT chassis ground any
of the speaker leads as unstable operation or damage to the amplifier and/or speaker may result.
HX400.2=45A
HX480.4=70A
HX600.4=125A
HX1200.1D=125A
5
