Panasonic AG-HPX250EJ 사용 설명서 - 페이지 18
{카테고리_이름} Panasonic AG-HPX250EJ에 대한 사용 설명서을 온라인으로 검색하거나 PDF를 다운로드하세요. Panasonic AG-HPX250EJ 36 페이지. Memory card camera recorder
Panasonic AG-HPX250EJ에 대해서도 마찬가지입니다: 전기 조정 (20 페이지)
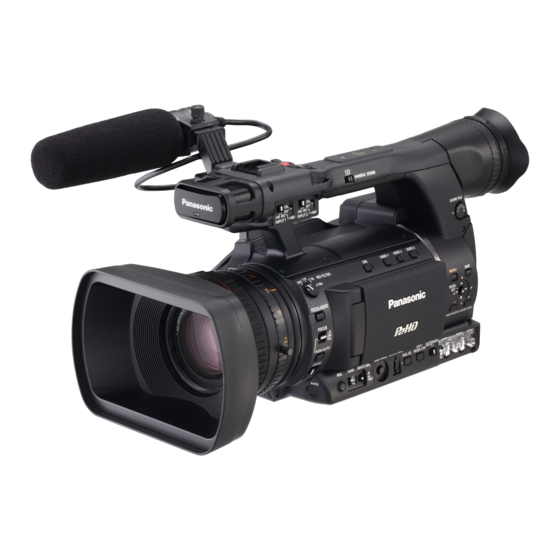
Description of parts (continued)
Front and rear side
1 2 3
1
Tally lamp (Front) (Page 9 of Vol. 2)
2
Remote control sensor (Front) (Page E-23)
3
White balance sensor (Page 32 of Vol. 2)
4
Built-in speaker
5
Lens cap (Page E-22)
6
Lens hood (Page E-21)
7
Viewfinder (Page 6 of Vol. 2)
8
OPEN lever of P2 card/SD memory card slot
cover
(Page 10 of Vol. 2, Page 15 of Vol. 2)
9
P2 card/SD memory card slot cover
(Page 10 of Vol. 2, Page 16 of Vol. 2)
10 USB terminal (HOST) (Page 102 of Vol. 2)
11 USB terminal (Mini-B) (DEVICE)
(Page 102 of Vol. 2)
12 HDMI OUT terminal (Page 104 of Vol. 2)
13 DVCPRO/DV terminal (Page 105 of Vol. 2)
14 TC IN/OUT terminal (Page 67 of Vol. 2)
15 Headphone jack (3.5 mm stereo mini jack)
(Page 101 of Vol. 2)
16 CAM REMOTE jack*
FOCUS/IRIS (3.5 mm mini jack)
You can connect a remote control unit to
control the FOCUS and IRIS (aperture).
ZOOM S/S (2.5 mm super mini jack)
You can connect a remote control unit to
control zoom and start/stop of recording.
E-17
5
6
4
19
20
21
22
7
8
USB2.0
9
23 24 25 26
27
* D o not connect any equipment except the
remote controller to the CAM REMOTE jack.
C onnecting any equipment other than
the remote control may cause the image
brightness to change and/or the images to
appear out of focus.
17 SDI OUT terminal (Page 103 of Vol. 2)
18 GENLOCK IN terminal (Page 67 of Vol. 2)
19 P2 card eject button (Page 10 of Vol. 2)
20 SD memory card access lamp
(Page 16 of Vol. 2)
21 SD memory card slot (Page 16 of Vol. 2)
22 P2 card slot (Page 10 of Vol. 2)
23 Tally lamp (Rear) (Page 9 of Vol. 2)
24 Remote control sensor (Rear) (Page E-23)
25 P2 card access lamp (x 2)
(Page 15 of Vol. 2)
26 USER4 button (Page 39 of Vol. 2)
27 Protective caps
Keep the protective caps fitted over any
connectors that are not being used.
28 Battery compartment (Page E-20)
29 Battery release button (Page E-20)
10
15
11
USB2.0
12
16
13
17
14
18
28
29