Panasonic AG-HPX250EJ 전기 조정 - 페이지 19
{카테고리_이름} Panasonic AG-HPX250EJ에 대한 전기 조정을 온라인으로 검색하거나 PDF를 다운로드하세요. Panasonic AG-HPX250EJ 20 페이지. Memory card camera recorder
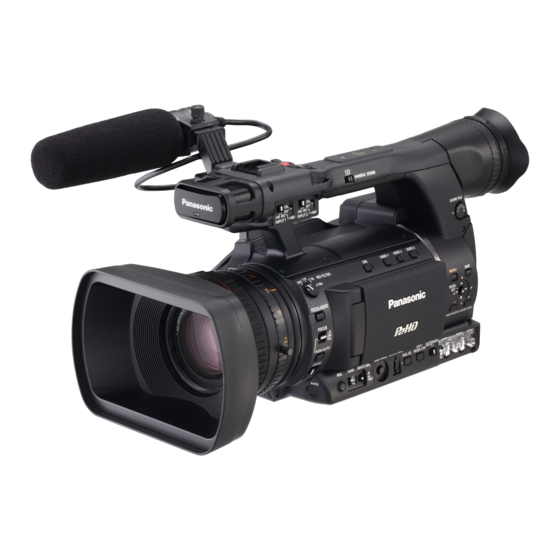
Panasonic AG-HPX250EJ에 대해서도 마찬가지입니다: 사용 설명서 (36 페이지)
2-1-8. Video Output Level Adjustment
1. Connect the WFM to the VIDEO OUT with 75ohm termination.
2. Open the SYSTEM SETUP screen and set the item "SYSTEM MODE" to "1080/59.94i" (MAIN MENU >
SYSTEM SETUP > SYSTEM MODE).
3. Select "CAM(C)" section after start up the PC EVR software, and click "OK" button.
4. Select "Adjustment Tool" in "Tools(W)" menu, Adjustment Tool screen will appear on screen.
5. Click the "Start" button for Video Level Adj..
6. Adjust Luminance level "Y" by clicking the adjustment button for Y so that it is within specification.
7. Adjust Burst level "C" by clicking the adjustment button for C so that it is within specification.
Start button
8. Change the system frequency to 50Hz by clicking "50Hz<->60Hz" button on the Adjustment Tool screen.
Click the "50Hz<->60Hz" button. And click the "Re-Boot Power" button after the message "TURN POWER
OFF" is displayed on the LCD panel. The power of camera recorder is automatically OFF and ON.
9. Adjust Luminance level "Y" by clicking the adjustment button for Y so that it is within specification.
10. Adjust Burst level "C" by clicking the adjustment button for C so that it is within specification.
11. Click the "Set" button for Video Level Adj. to end of video level adjustment mode.
Start button
Set button
Adjustment button (For NTSC)
Adjustment value (For NTSC)
Adjustment button (For PAL)
Adjustment value (For PAL)
NTSC: Y = 714mV 7mV
NTSC: C = 286mV 6mV
C
Y
ELE-18
PAL: Y = 700mV 7mV
PAL: C = 300mV 6mV
Y
C