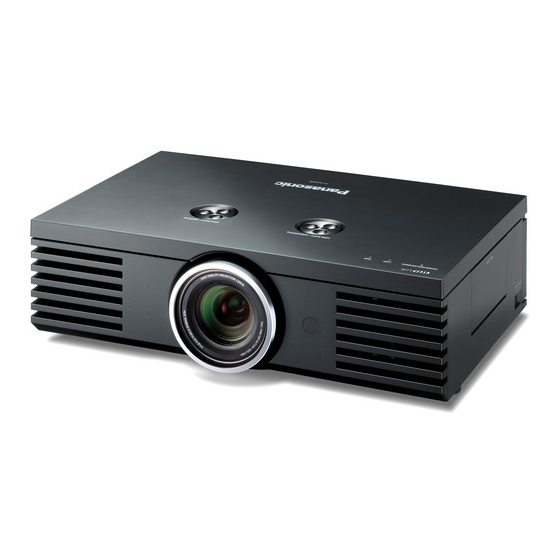
Panasonic PT-AE4000E 기능별 지침 - 페이지 12
{카테고리_이름} Panasonic PT-AE4000E에 대한 기능별 지침을 온라인으로 검색하거나 PDF를 다운로드하세요. Panasonic PT-AE4000E 50 페이지. Full high-definition home cinema projector
Panasonic PT-AE4000E에 대해서도 마찬가지입니다: 사용 설명서 (36 페이지), 기능별 지침 (50 페이지), 브로셔 및 사양 (6 페이지)

Projecting an image
Projecting an image
Selecting the input signal
1.
Switch on the connected devices.
Press the play button of the required device.
2.
Press the
INPUT SELECT button to select the
required input method if needed. See "Switching
the input signal" on page 15.
The image will be projected on the screen.
Positioning the image
1.
Adjust the projected image with the lens shift dials.
See "Lens shift and positioning" on page 6.
2.
Adjust the angle of the projector.
Screw the front leg adjusters up/down and adjust the
angle vertically.
See "Front leg adjusters and throwing angle" on
page 5.
E
12 -
NGLISH
NOTE:
•
AUTO SEARCH
is ON as default and the signal from
the connected devices is detected automatically. See
"AUTO SEARCH" on page 39.
3.
Adjust the focus and the projected image size.
Press +/− of the FOCUS and ZOOM buttons to
adjust.
Press the LENS button to adjust the focus and zoom
by the remote control. See "LENS CONTROL" on
page 35.
NOTE:
•
Do not touch the air exhaust port as this may cause
burns or injury.
•
If keystone distortion occurs, see "KEYSTONE" on
page 34.
•
If you adjust the focus, you may need to adjust the size
of the image by pressing the ZOOM button again.
