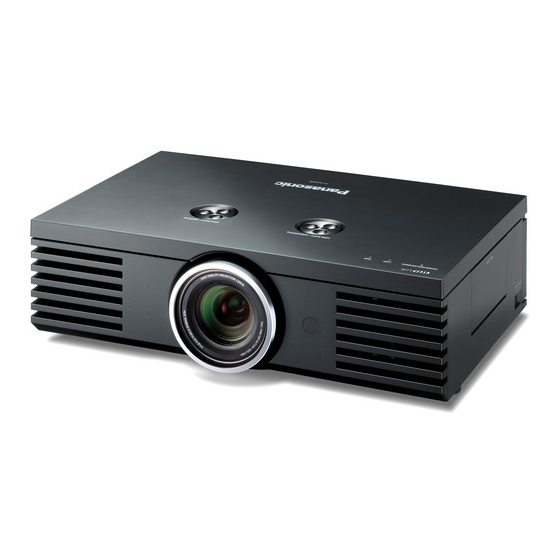
Panasonic PT-AE4000E 기능별 지침 - 페이지 36
{카테고리_이름} Panasonic PT-AE4000E에 대한 기능별 지침을 온라인으로 검색하거나 PDF를 다운로드하세요. Panasonic PT-AE4000E 50 페이지. Full high-definition home cinema projector
Panasonic PT-AE4000E에 대해서도 마찬가지입니다: 사용 설명서 (36 페이지), 기능별 지침 (50 페이지), 브로셔 및 사양 (6 페이지)

LENS CONTROL
6.
Repeat step 5 until you finish the text line.
You can enter up to 16 characters.
Move the cursor to ALL DELETE and press the
ENTER button to delete all the entered text line.
Press the DEFAULT button to delete the last entered
character or indicted with the cursor in the text box.
To insert a character in the entered text line, move
the cursor to the text box to select the required place
and press ▼ then perform step 5.
7.
Select
OK and press the ENTER button to set the
entered text as a name.
NOTE:
•
If you leave the text box empty and save, the default
memory number will stay as a name.
LENS MEMORY EDIT
You can edit saved lens memory settings.
Deleting a memory setting
Q
1.
Select
LENS MEMORY DELETE and press the
ENTER button.
2.
Select the required lens memory setting and press
the ENTER button.
3.
If you select
ALL DELETE, you can delete all of
the saved lens memory settings.
4.
Select
OK in the confirmation screen and press
the ENTER button.
Changing the name of the memory
Q
setting
1.
Select
LENS MEMORY NAME CHANGE and
press the ENTER button.
2.
Select the required lens memory setting and press
the ENTER button.
3.
Rename the lens memory setting.
Use ▲ ▼ ◄ ► to specify the location of the required
character to enter and press the ENTER button.
4.
Repeat step 3 until you finish the text line.
You can enter up to 16 characters.
Move the cursor to ALL DELETE and press the
ENTER button to delete all the entered text line.
Press the DEFAULT button to delete the last entered
character or indicted with the cursor in the text box.
To insert a character in the entered text line, move
the cursor to the text box to select the required place
and press ▼ then perform step 3.
5.
Select
OK and press the ENTER button to set the
entered text as a name.
NOTE:
•
The option that contains no saved adjustment will not
be displayed
•
If you leave the text box empty and save, the default
memory name will stay as a name.
E
36 -
NGLISH
AUTO SWITCHING
You can automatically load the saved lens memory
settings which are set for each screen size.
This function is able to identify the wide signal*
or 16:9/4:3 and recalls the lens memory settings
automatically.
*
Wide signal includes: 2.35:1, 2.40:1, 2.50:1, 2.55:1
Press the ENTER button to display the AUTO SWITCH
menu.
AUTO SWITCHING
2.35:1 IMAGE DETECTION
16:9 IMAGE DETECTION
SELECT
RETURN
1.
Press ▲ ▼ to select the
the AUTO SWITCH menu.
2.
Press ◄ ► to select your required
MEMORY for AUTO SWITCHING.
The LENS MEMORY setting which has been
selected for 2.35:1 IMAGE DETECTION is loaded
after a given period of time once the input signal
switches from 16:9/4:3 to 2.35:1.
The LENS MEMORY setting which has been
selected for 16:9 IMAGE DETECTION is loaded
after a given period of time once the input signal
switches from 2.35:1 to 16:9/4:3.
Only saved LENS MEMORY data will appear in the
IMAGE DETECTION item.
If OFF, the auto-identify will not be performed.
When selecting the ZOOM/ZOOM1/ZOOM2/V-HIT in
the ASPECT setting, this function will be invalid.
When displaying the menu or test pattern, also when
performing the PICTURE menu, auto-identify will be
invalid.
NOTE:
In the following conditions, it might take longer to identify
or it might be unable to identify the correct image.
•
If there is noise in the picture or external equipment
generate noise, or depends on the picture images.
•
If the input signal level from the external equipment is
not set to the suggested value range. Please adjust the
WAVEFORM MONITOR settings. See page 21.
•
If the screen position is not adjusted well. Please adjust
the POSITION settings. See page 32.
OFF
OFF
IMAGE DETECTION in
LENS
