DiamondBoxx M3 소유자 매뉴얼 - 페이지 10
{카테고리_이름} DiamondBoxx M3에 대한 소유자 매뉴얼을 온라인으로 검색하거나 PDF를 다운로드하세요. DiamondBoxx M3 16 페이지.
DiamondBoxx M3에 대해서도 마찬가지입니다: 매뉴얼 (12 페이지)

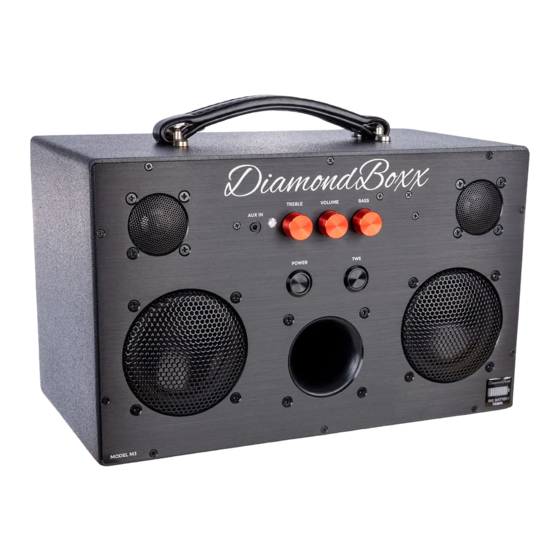
The Handle
The handle was designed to make the DiamondBoxx
portable while feeling good in your hand. It can lock in
2 positions. As with anything leather, it is a little stiff at
first. A good pull on it should lock it in the upright
position. Pressing down on it in the middle and on the
ends should lay it flat again.
The Rear Panel Jacks
Charger: This is where you plug in the included charger
to recharge your DiamondBoxx. 16.8V 2A DC Only
5.5mm x 2.1mm
USE ONLY THE INCLUDED CHARGER
OR MAJOR DAMAGE CAN OCCUR,
replacements are
available at DiamondBoxx.com
AUX 2: This is a ZERO LATENCY stereo 3.5mm input jack
that MIXES. While the AUX on the front panel overrides
the Bluetooth, this AUX 2 input on the rear panel MIXES
with the Bluetooth or the AUX on the front panel for a
various reasons including wanting to use a microphone
or musical instrument mixed with audio from Bluetooth
or the front AUX jack.
10
