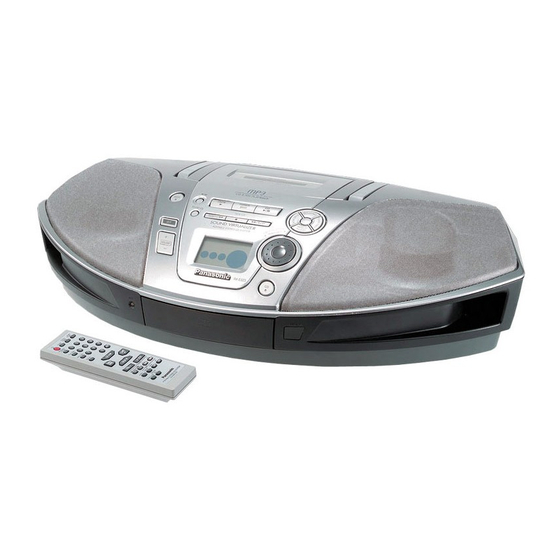
Panasonic RX-ES29 사용 설명서 - 페이지 4
{카테고리_이름} Panasonic RX-ES29에 대한 사용 설명서을 온라인으로 검색하거나 PDF를 다운로드하세요. Panasonic RX-ES29 18 페이지. Portable stereo cd system
Panasonic RX-ES29에 대해서도 마찬가지입니다: 사용 설명서 (16 페이지), 사용 설명서 (29 페이지)

Location of Controls
Main Unit
1
Deck
2
Deck eject button (< DECK) ................................. (l 10)
• Press [< DECK] to open the deck.
(The unit comes on.)
Then, load a cassette and close the deck by hand.
3
Record/record pause button (¥/;) ................ (l 10, 11)
4
Cassette play button (1TAPE) .............................. (l 10)
• Press [1TAPE] to start play.
5
Band button (TUNER BAND) ................................... (l 7)
• Press [TUNER BAND] to select "FM" or "AM".
6
CD play/pause button (CD 1/;)......................... (l 8, 9)
• Press [CD 1/;] to start play.
Plays to the end of the CD and stops.
• Press [CD 1/;] to pause halfway during play.
Press again to resume play.
Remote Control
1
Transmission window
Aim at the sensor, avoiding obstacles, at a maximum range
of 7 meters directly in front of the unit.
2
Sleep timer button (SLEEP)................................... (l 13)
3
Numeric buttons............................................... (l 7, 8, 9)
4
CD/MP3 play mode/FM mode button
(PLAY MODE).............................................. (l 7, 8, 9, 11)
5
Auto scan button (AUTO SCAN).............................. (l 7)
6
Display select button (DISPLAY)..................... (l 10, 12)
• Press [DISPLAY] to display the clock on the Display
panel B.
7
Preset channel select/album skip buttons
(C/: ALBUM, ALBUM9/D) ....................... (l 7, 8)
8
Tuning/CD skip, search/MP3 track skip/clock/timer
adjust buttons (–/:, 9/+)................... (l 7, 8, 9, 12)
9
MP3 intro play button (INTRO) ................................ (l 9)
:
Tape counter reset button (C.RESET) .................. (l 10)
• Press [C.RESET] to reset the tape counter.
The counter resets to "000".
;
Tape rewind/fast-forward buttons
(6/REW, 5/FF ) ................................................ (l 10)
<
Sound virtualizer button (S.VIRTUALIZER).......... (l 14)
4
RQT7967
7
CD recording mode button (CD REC MODE)....... (l 11)
8
Play timer/record timer button (
9
Clock/timer button (CLOCK/TIMER) ............... (l 12, 13)
:
CD program/clear, tuner preset button
( MEMORY CLEAR) ........................................... (l 7, 9)
;
Speaker
Note:
• These speakers do not have magnetic shielding.
Do not place them near televisions, personal computers
or other devices easily influenced by magnetism.
<
(
Standby/on switch
POWER
POWER
Press to switch the unit from on to standby mode or vice
versa. In standby mode, the unit is still consuming a small
amount of power.
=
Sound equalizer button (SOUND EQ)................... (l 14)
>
Tuning/CD search, Rewind/fast-forward, Album skip
buttons (REW/–/6, 5/+/FF)..................... (l 7, 8, 10)
When the unit is supplied with AC Power, the button such as 4
function in the same way as the controls on the main unit. To
save power, the unit cannot be turned on from the remote
control when batteries are used.
2
<
8
9
:
4
5
3
6
6
5
4
?
A
8
7
;
9
:
<
=
PLAY/REC) .... (l 13)
)
R6, AA, UM-3
(not included)
