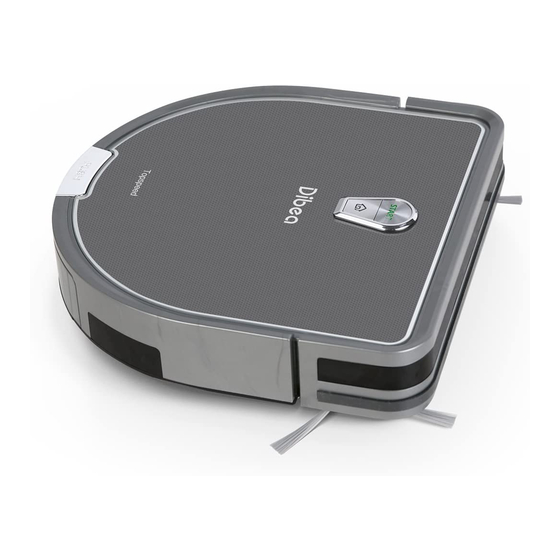
dibea DT966 사용 설명서 - 페이지 7
{카테고리_이름} dibea DT966에 대한 사용 설명서을 온라인으로 검색하거나 PDF를 다운로드하세요. dibea DT966 10 페이지. D shape exclusive design

Product Operation
Start cleaning
Press the START button on the vacuum
●
cleaner or the ON/OFF button on the
remote control to start cleaning.
Before starting cleaning, make sure the
●
vacuum is not in sleeping mode. If yes,
press the START or ON/OFF button to wake
it up.
The START button doesn't have light in
●
sleeping mode. It turns yellow in standby
mode and turns green when working.
Stop cleaning
When the vacuum cleaner is working, press the START or ON/OFF button to stop it.
●
After stopping it, the START button will turn yellow. And it will turn to sleeping
●
mode if there is no operation in 30 seconds.
Sleeping
When in sleeping mode, press the START or ON/OFF button can wake it up.
●
When in standby mode, long press the START button to turn to sleeping mode.
●
When in standby mode, the vacuum will turn to sleeping mode if there is no
●
operation in 30 seconds.
Cleaning Modes
●
Cleaning paths
This vacuum has several cleaning paths, which can automatically switch according
●
to different surface types.
The default mode when starting the vacuum is Auto mode. And it will switch the 4
●
cleaning paths automatically depending on different floor types.
Auto cleaning path
Zig-zag cleaning path
9
Edge cleaning path
V cleaning path
Product Operation
Spot cleaning
In standby mode, press the
button on the remote control and the vacuum will
●
turn to spot cleaning mode.
This mode is suitable for cleaning at a dirtier area. The vacuum will spiral intensively
●
until it finishes cleaning the dirty spot.
Scheduling
In standby mode, press the PLAN button to set the scheduling time
●
Once scheduled, the vacuum will clean at a certain time 7 days a week.
Recharging
When the battery is low, press the
●
the remote control to make it go for recharging.
When it is working and the battery is low, the vacuum will automatically go back to
●
the charging base for recharging.
Scheduling setting
●
Please use the remote control to set the scheduling. Once successfully scheduled, the
vacuum will clean at a certain time every day.
Before setting the time, make sure the START button is green. If the vacuum is in
standby mode, press the START button to wake it up first.
Set the clock time
Press the CLOCK button, and the
left 00 of the 00:00 will flash.
button on the vacuum or the
button on
Press the
to set the hour and
minute, press the
to change
between the hour and minute.
After finishing the setting, press
the CLOCK button to save the
setting.
10
