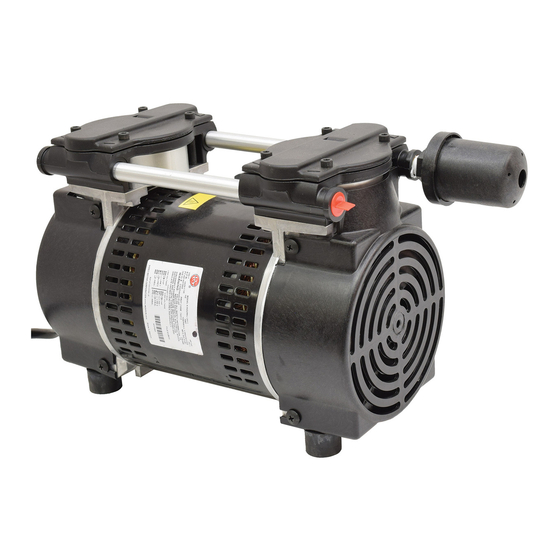
EasyPro Rocking Piston PA66 설치, 운영, 유지보수 매뉴얼 - 페이지 5
{카테고리_이름} EasyPro Rocking Piston PA66에 대한 설치, 운영, 유지보수 매뉴얼을 온라인으로 검색하거나 PDF를 다운로드하세요. EasyPro Rocking Piston PA66 8 페이지. Diffused aeration systems

General Assembly Instructions
1.
Unpack the aeration system to ensure all parts were received. If a shortage
occurs, please notify EasyPro immediately.
2.
Assemble diffusers, detailed instructions included with each diffuser assem-
bly. NOTE: Video walk-through of diffuser assembly and installation found
at: easypro.com/diffuser-assembly
3.
For Sentinel Deluxe units, the filter and valves are connected to the com-
pressor.
For basic kits you will need to install the inlet filter and outlet assembly. On
all basic kits, remove the compressor from the box and install the supplied
feet. Also, remove the colored inserts from the ports on the head of the
compressor. Threaded plugs stay on Stratus SRC compressors.
4a. For PA34/65/66 style kits (1/4 and 1/2 hp Stratus SRC compressors)
PA34
4b. For PA83/86/90 style kits (3/4 hp Stratus SRC compressors)
(1) Thread filter into
"INLET" port.
5.
Unroll the entire roll of tubing. It is recommended that the diffuser be in-
stalled at this point. This will allow you to trim any unused tubing before at-
taching to the compressor. Use clamps to secure tubing to outlet assembly.
6.
Open the valves on the outlet assembly to their full open position. Plug the
compressor into a GFCI outlet and adjust each valve to equal the air flow to
each diffuser. This equalizes air flow between diffusers with different operat-
ing depths and/or tubing lengths.
PA65
PA34-2
(2) Thread quick
disconnect section
into "OUTLET" port.
5
PA66
(3) Install remainder of
outlet assembly to
quick disconnect
section.
