Easyrig STABIL G2 매뉴얼 - 페이지 2
{카테고리_이름} Easyrig STABIL G2에 대한 매뉴얼을 온라인으로 검색하거나 PDF를 다운로드하세요. Easyrig STABIL G2 2 페이지.

4
5
6
Design protection USA / EU / INDIA: DM/203947 & 79612
Trademark USA / EU / INDIA / CHINA: Pending
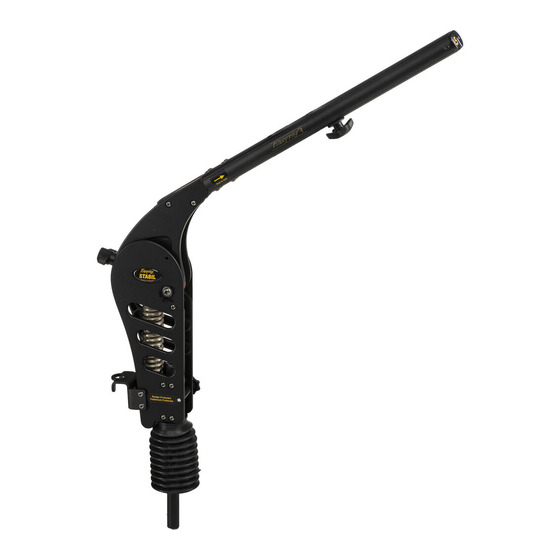
Adjusting the slider
Place the camera hook in front of the
upper arm (1). Adjust the slider (2) to
preferred location and lock it tight. When
the slider is in position, gently put back
the camera hook.
The Easyrig STABIL has ball bearings
in the back of the arm, enabling smooth
lateral movement from left to right within
80 degrees without friction. This smooth
lateral movement together with the
spring (up and down) will make your
shots steadier.
Adjust according to your height
Open the Vario 5 cover using the tension
adjustment tool mounted on the power
pack. Use the same tool to loosen the
hex column nuts in each corner of the
back plate.
DO NOT REMOVE THE NUTS FULLY.
Slide the power pack up/down to desired
position.Tighten the 4 nuts and replace
the cover.
Locking the arm in 90 degrees
1. Remove the locking screw from the
lower base of the arm.
2. Hold the front bar of the STABIL and
bend it to 90 degrees, then you'll see 4
holes aligned on the upper base of the
arm.
3. Screw in the locking screw fully.
NOTE: Remember to place the locking
screw back into its storage position when
not in use.
Press the arm downwards when removing
the screw.
For more info go to www.easyrig.se ->
Support -> Service Videos & Manuals
