DIEBOLD HSK-100 사용자 설명서 - 페이지 15
{카테고리_이름} DIEBOLD HSK-100에 대한 사용자 설명서을 온라인으로 검색하거나 PDF를 다운로드하세요. DIEBOLD HSK-100 16 페이지. Cam angle gauge
DIEBOLD HSK-100에 대해서도 마찬가지입니다: 사용자 설명서 (14 페이지)

Messtechnik
7.
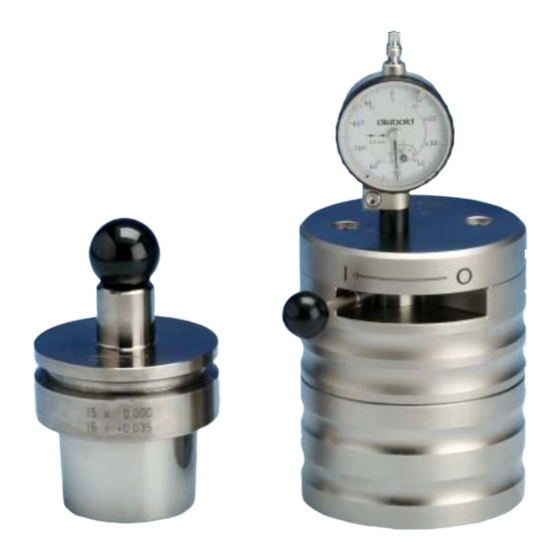
Installation of the Indicator
Disassembling:
Using the thumb-wheel, release the indicator clamp and remove the indicator from the unit.
Unscrew the probe and install the probe in replacement indicator.
Installation:
Install the new indicator in the bore, move the indicator forward till the dial indicator moves
to midpoint of travel. Tighten the indicator clamp and set indicator to "0" by turning the
housing.
Attention:
Avoid binding the indicator cylinder by over-tightening the clamp.
8
Repairs
Diebold PullForce Gauges are a modular system. When a component is damaged, only
the damaged component needs to be replaced. We recommend returning any damaged
gauge to the manufacturer, Helmut Diebold GmbH & Co. or a certified service station for
recalibration and certification. Periodic
recommended.
9
Cleaning and Lubrication
Clean the unit with a clean cloth and oil.
G:\Bedienungsanleitungen\Messtechnik\Spannkraftprüfer\Bedienungsanleitung
Spannkraftprüfer D+E.dot
recalibration of gauge master is also
上海川奇机电设备有限公司
Stand: März 2010
Seite 15 von 16
