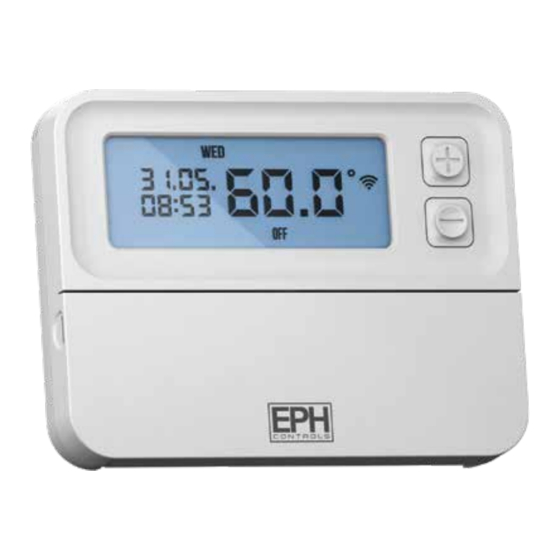
EPH Controls RFRP-HW-OT 운영 지침 - 페이지 2
{카테고리_이름} EPH Controls RFRP-HW-OT에 대한 운영 지침을 온라인으로 검색하거나 PDF를 다운로드하세요. EPH Controls RFRP-HW-OT 4 페이지. Cylinder thermostat wireless

RFRP-HW-OT
Cylinder Thermostat
6. LCD Symbol / button description
6.1 LCD Symbol description
Current program
Day of the week
Day / Month
Current Time
(Boost to time)
Operating mode
6.2 Button description
Automatic
AUTO
MAN
OFF
PROG
TIME
mode
(Back)
Manual
mode
Program mode
7. Resetting the thermostat
Press the
button on the side of the thermostat.
RESET
'rst no' will appear on the screen.
Press the
button.
'rst yes' will appear on the screen.
Press the 'OK' button to reset the thermostat.
8. Keypad lock and unlock
To lock the keypad, press and hold the
will appear on the screen. The keypad is now locked.
To unlock the keypad, press and hold the
will disappear from the screen. The keypad is now unlocked.
9. Setting the date, time and operating mode
Press the 'TIME
Press the
or
buttons to adjust the year.
Press the
or
buttons to adjust the month. Press the 'OK' button.
Press the
or
buttons to adjust the day.
Press the
or
buttons to adjust the hour.
Press the
or
buttons to adjust the minute. Press the 'OK' button.
Press the
or
buttons to adjust from 5/2d to 7d or 24h mode.
Press the 'AUTO' button or wait 5 seconds and the thermostat will return to
normal operation.
EPH Controls Ireland
[email protected] www.ephcontrols.com
Wireless
Temperature
Battery low symbol
Wireless symbol
Heating on symbol
Keypad lock symbol
Set point increase
Wireless connect button
Set point decrease
Reset button
OK
HOL
COPY
BOOST
Boost mode
Copy function
Holiday mode
Set Date/ Time
OFF
and
buttons for 10 seconds.
and
buttons for 10 seconds.
Press the 'OK' button.
Press the 'OK' button.
Press the 'OK' button.
Page 2 of 4
Operating Instructions
10. Factory program settings
P1
P2
Mon-Fri
ON
OFF
08:00
10:00
Sat-Sun
ON
OFF
P1
P2
Mon-Fri
ON
OFF
08:00
10:00
Sat-Sun
ON
OFF
P1
P2
Everyday
ON
OFF
11. Adjusting the program settings for 5/2d
Press the 'PROG' button once.
Programming for Monday to Friday is now selected.
Press the
or
buttons to adjust the P1 time. Press the 'OK' button.
Press the
or
buttons to set ON or OFF status for P1.
Press the 'OK' button.
Repeat this process to adjust P2 to P6 times and status.
Press the 'OK' button.
Programming for Saturday to Sunday is now selected.
Press the
or
buttons to adjust the P1 time. Press the 'OK' button.
Press the 'OK' button.
Repeat this process to adjust P2 to P6 times and status.
Press the 'AUTO' button to return to automatic mode.
While in PROG Mode pressing the 'PROG' button will jump from P1-P2 etc
without changing the status.
While in PROG Mode pressing the 'TIME' button will jump to the next Day
(block of days).
If 7 D mode is selected, you can program each day of the week with 6
individual times and statuses.
If 24H mode is selected, you can only program each day of the week with
the same 6 times and statuses.
12. Copy function
Copy function may only be used if the thermostat is in the 7d mode.
Set the times and temperatures for the day that you wish to copy from in
PROG Mode.
When still on the day press the 'COPY' button.
The day of the week that you have selected will be shown with 'COPY'
below it.
Press the
button to copy the times and temperatures to that day.
Press the
button to skip a day.
You can copy to multiple days using the
Press the 'OK' button when copying has been completed.
EPH Controls UK
[email protected] www.ephcontrols.co.uk
5/2d
5/2D
P3
P4
P5
P6
OFF
OFF
ON
OFF
12:00
14:00
17:30
19:00
OFF
OFF
ON
OFF
7D
P3
P4
P5
P6
OFF
OFF
ON
OFF
12:00
14:00
17:30
19:00
OFF
OFF
ON
OFF
24H
P3
P4
P5
P6
OFF
OFF
ON
OFF
button.
20221005_RFRP-HW-OT_OpIns_PK
