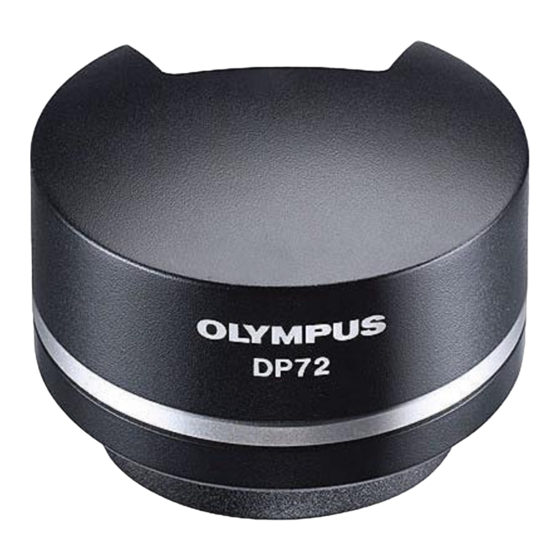
Olympus DP72 사용 설명서 - 페이지 33
{카테고리_이름} Olympus DP72에 대한 사용 설명서을 온라인으로 검색하거나 PDF를 다운로드하세요. Olympus DP72 40 페이지. Microscope digital camera

TROUBLESHOOTING GUIDE
Under certain conditions, the performance of the camera may be adversely affected by factors other than defects. If
problems occur, please review the following list and take remedial action as needed. If you cannot solve the problem after
checking the entire list, please contact Olympus for assistance.
Problem
a) The computer will not start up.
b) Live image is not displayed.
c) Still images cannot be recorded.
d) Picture is too bright.
e) Picture is too dark.
Cause
The camera and computer are con-
nected improperly.
The software is installed improperly.
The camera and computer are con-
nected improperly.
The microscope illumination is off. The
microscope is not set to the camera light
path. The illumination or specimen fo-
cusing is adjusted improperly.
The ISO speed or exposure time is set
improperly.
The camera and computer are con-
nected improperly.
The DP2-TWAIN or DP2-BSW is process-
ing recording.
The DP2-BSW is processing file save,
etc.
The computer memory is insufficient.
Exposure correction is set in the + di-
rection.
The metering area is set to a dark area
outside the region of interest.
AE lock, which was set when the expo-
sure time was longer than the currently
required exposure time, is active.
The input highlight level adjustment is
too low.
The microscope illumination is too
bright.
Exposure correction is set in the – di-
rection.
The metering area is set to a bright area
outside the region of interest.
Remedy
Turn off the computer and connect the
camera and PCIe interface board
properly using the interface cable.
Install the software.
Turn off the computer and connect the
camera and PCIe interface board
properly using the interface cable.
Turn on the microscope illumination,
adjust the lighting and focusing cor-
rectly, and select the camera light
path.
Set the ISO speed, exposure mode,
exposure time and level properly.
Turn off the computer and connect the
camera and PCIe interface board
properly using the interface cable.
Wait until the recording processing
completes before starting recording
of the next image. In certain cases, it
may be required to press the Cancel
button on the status bar and record
the image again.
Wait until the processing completes
before starting recording of the next
image.
Exit from other software before retry-
ing recording.
Return the exposure correction value
to 0 and set the desired exposure
correction value.
Move the metering area to the area
where you want to obtain optimum
exposure.
Cancel AE lock.
Reset the current level adjustment
and adjust the optimum level again.
Reduce the microscope illumination
intensity or engage an ND filter to re-
duce brightness.
Return the exposure correction value
to 0 and set the desired exposure
correction value.
Move the metering area to the area
where you want to obtain optimum
exposure.
DP72
Page
14
16-22
14
––
(Online
manual)
8
(Online
manual)
(Online
manual)
––
(Online
manual)
(Online
manual)
(Online
manual)
(Online
manual)
––
(Online
manual)
(Online
manual)
30
