Olympus XZ-1 팁과 요령 매뉴얼 - 페이지 14
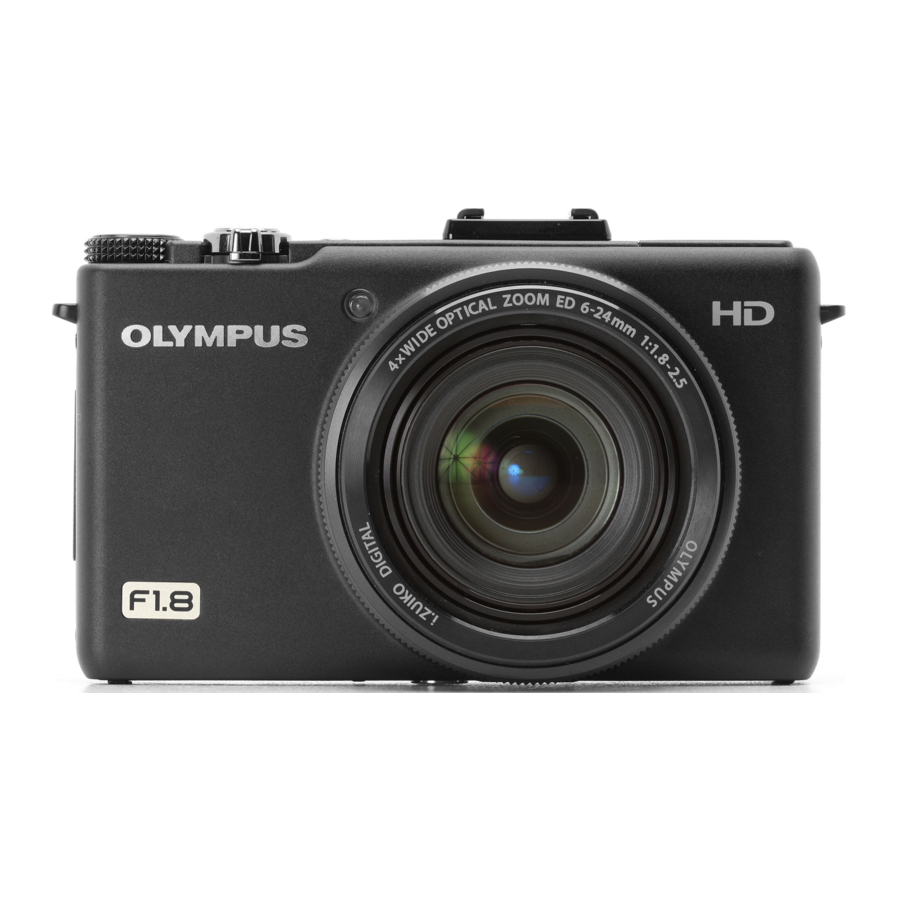
{카테고리_이름} Olympus XZ-1에 대한 팁과 요령 매뉴얼을 온라인으로 검색하거나 PDF를 다운로드하세요. Olympus XZ-1 30 페이지. Body black
Olympus XZ-1에 대해서도 마찬가지입니다: 사양 (5 페이지)
XZ-1 Tips
page 14 of 29
Sharpest images
...post on Dpreview by keydog
Set your camera to take Raw + Jpeg.
Take some pics.
Open Olympus Viewer 2 (if you don't have it download for free from Oly. just enter any
number for serial #).
Click on the RAW button at the top to go into Raw editing mode.
Set the noise reduction from Normal to Low on all the pics (I haven't found a way to
batch do this yet, but haven't tried much either).
Hit Save
In the Save Dialog box, click the file naming rule and select optional string for the base
and put in "RAW".
Then save the pictures. Compare them with the OOC Jpegs. You'll notice the detail is
crisper.
If Oly by default set the noise reduction lower or at least allowed you to in the camera,
there would be a ton less complaining about "smeared details".
xz-1 sharpness -- I wouldn't recommend NR off, as that leaves a bit of the natural noise in
the picture, but rather set it to LOW (which should have been the default!) and it is much
nicer.
Photoshop Unsharp Mask: 80%, Radius 0.7, Threshold 0
Sharp prints
For a sharp print viewed from 1' away -- 300 ppi x width & length... 8x10 = 2400 x 3000,
11 x 14 = 3300 x 4200. 'Gallery sharp'.
But the XZ-1 image size is 3748 x 2736, and, after cropping, you may not have enough
image left at 300 dpi to go to, say, 11 x 14. But try a print anyway -- many XZ-1 owners