Olympus BH-2 BHTU 매뉴얼 - 페이지 2
{카테고리_이름} Olympus BH-2 BHTU에 대한 매뉴얼을 온라인으로 검색하거나 PDF를 다운로드하세요. Olympus BH-2 BHTU 24 페이지. Sliding focus block
Olympus BH-2 BHTU에 대해서도 마찬가지입니다: 완전한 분해, 청소 및 재조립 (23 페이지)
Introduction
This document provides a detailed description of the electrical circuitry of the 100/115V version of the Olympus BHT and
BHTU microscopes, which are part of the BH‐2 family. The information contain herein is intended to supplement the
information published in the Olympus Research Microscope Series BH2 (BHS) Repair Manual, by providing additional
circuit details and a complete theory of operation, as well as correcting errors that were found in the circuit diagram
published by Olympus. This information was obtained by performing tear‐down inspections of functional BHTU
microscopes configured for 100/115V operation.
Safety Warnings and Disclaimers
The content of this document is provided for informational purposes only, with no expressed or implied warranties
whatsoever, including, but not limited to, function, suitability, safety, accuracy, and completeness of information.
Repairing your own microscope may seem like a hip and cool thing to do that will make you the envy of all of your
friends, but being dead will not. Potentially lethal voltages are present inside these microscopes. Do not attempt
repairs or troubleshooting if you lack the necessary skills, training, and confidence to safely perform repairs on line‐
powered electrical equipment. If you choose to attempt repairs or troubleshooting, do so at your own risk.
Overview of Electrical Circuitry
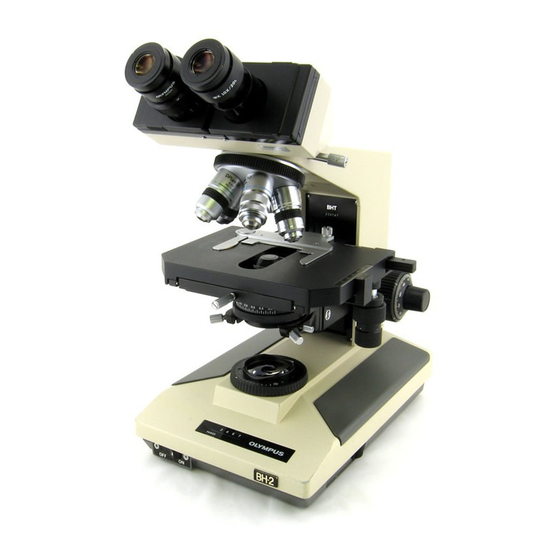
The electrical circuitry of the Olympus BHT/BHTU microscopes resides completely within the base of the microscope
stand. AC power is provided by an AC inlet jack on the back, where the line cord connects. There is a power switch on
the front to turn the illumination on and off, as well as an intensity control on the right‐hand side to vary the lamp
voltage. There is a voltage selector switch on the bottom of the base to allow operation under normal or low‐line
conditions, and enclosed within the base are a power transformer, a bridge rectifier, a main printed circuit board, and a
power transistor. A 6V/20W halogen lamp resides in the lamp house on the rear of the stand. Later stands have a light
preset switch and a screwdriver‐adjustable light preset control, located just above the intensity slider, to provide preset
lighting intensity for photographic applications.
The BHT/BHTU electronics performs two independent, yet related functions, in response to a variable control signal
from the intensity potentiometer. The first function is intensity control of the halogen lamp. To provide this, the
dimmer circuitry varies the voltage applied to the lamp in response to this control signal. The second function is display
of the lamp voltage via a four‐segment LED bar‐graph display, which also operates off of the intensity control signal.
Details of both of these circuit functions are described in the sections below.
Lamp Dimmer Circuitry
Figure 1 is a simplified schematic diagram of the lamp dimmer circuitry. This diagram contains the details necessary for
an understanding of the basic operation of the lamp dimmer. Unnecessary details such as such as switching, fusing,
electrical interconnects, and current limiting have been omitted for clarity. Refer to Appendix 2 and Appendix 3 of this
document for complete and detailed schematic diagrams of the BHT/BHTU electronics.
Figure 1 – BHT/BHTU Lamp Dimmer Circuitry (without Current Limiting)
Olympus BH‐2 (BHT/BHTU) Electronics
Revision 2
Page 2 of 24