Olympus BX3-MDOE 사용 설명서 - 페이지 17
{카테고리_이름} Olympus BX3-MDOE에 대한 사용 설명서을 온라인으로 검색하거나 PDF를 다운로드하세요. Olympus BX3-MDOE 40 페이지. For 2, 5, 9, 10 and 13 persons
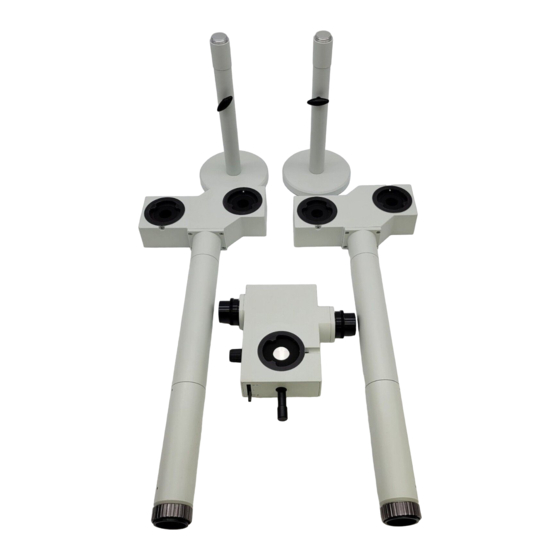
3-3 Pointer operation
a
a
1
Adjusting the pointer brightness
TIP
1
Rotating the brightness control knob a of the pointer in clockwise
direction makes the pointer brighter continuously.
2
Rotating the brightness control knob a in counterclockwise direction
until it stops turns OFF the pointer.
2
Selecting the pointer color
1
Using the pointer color switching lever a , select a pointer color which
is clearly distinguishable from the color of the observed image.
a
3
Moving the pointer
1
The main observer operates the pointer control lever a on the front of
the discussion attachment to move the pointer to the desired position
in the field of view.
TIP
The brightness adjustment range for the pointer of this
product is set to support a dark specimen (e.g. specimen for
fluorescence observation).
For this reason, when observing a bright specimen (e.g.
specimen for brightfield observation), you may feel it difficult to
identify the pointer unless rotating the brightness control knob
to the maximum, but this is not a failure of this product.
· Up position: Red
· Middle position: Shielded
· Down position: Green
Turn OFF the pointer when not in use. (For procedures to turn
OFF the pointer, see
2
If you do not want to display the pointer in the field of view
during observation temporarily, move it away from the field
of view or set the pointer color switching lever to the middle
position.
in "Adjusting the pointer brightness".)
13