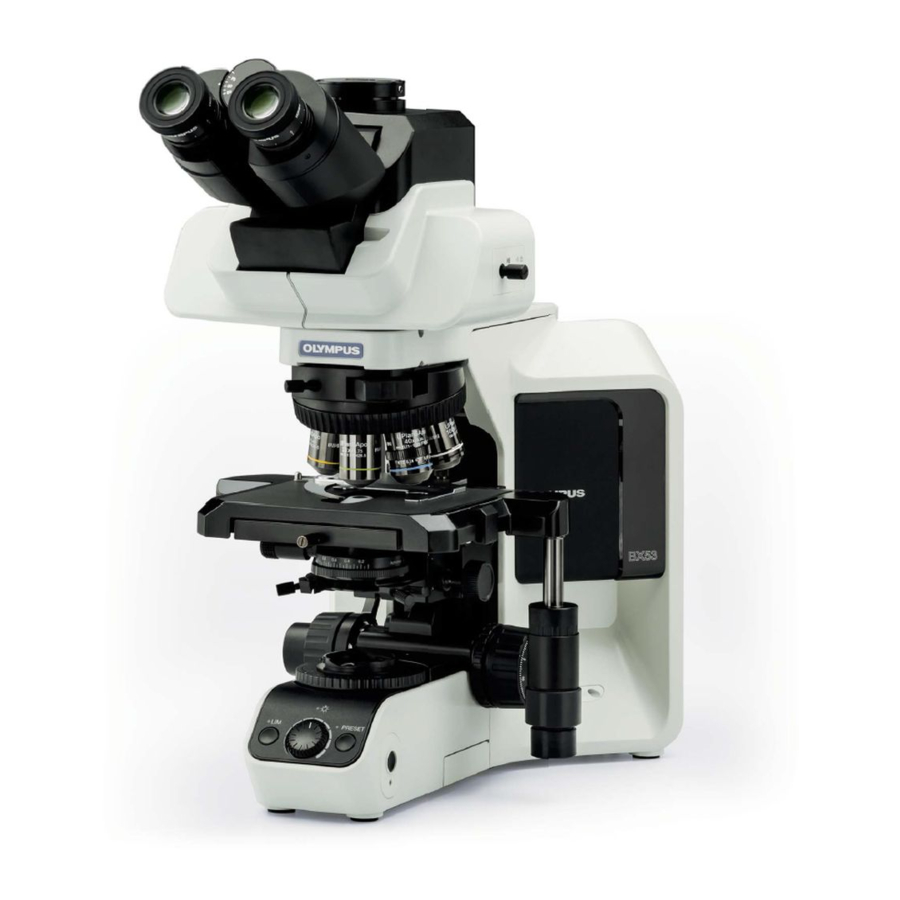
Olympus BX3-RFAS 사용 설명서 - 페이지 15
{카테고리_이름} Olympus BX3-RFAS에 대한 사용 설명서을 온라인으로 검색하거나 PDF를 다운로드하세요. Olympus BX3-RFAS 36 페이지. Coded function system
Olympus BX3-RFAS에 대해서도 마찬가지입니다: 사용 설명서 (16 페이지), 사용 설명서 (16 페이지)

3
1
4
Fig. 2
5
Centering the Aperture Iris Diaphragm (BX3-URA)
} This operation is not required with the BX3-RFAS code fluorescence
illuminator
1. Close the light path by sliding the shutter knob @ to position marked {.
2. Engage a mirror unit other than the ones for U-excitation (U-FUW, U-FUN,
U-FUNA) in the light path by rotating the turret.
3. Engage the 10X objective in the light path and lace the U-CST centering
2
target on the stage.
4. Open the light path by sliding the shutter knob to position marked \.
5. Move the white surface with cross lines of the U-CST until the cross lines
are overlaid on the center of field.
6. Turn the revolving nosepiece to engage the empty place (the objective
cap should be removed) in the light path.
7. Pull out the aperture iris diaphragm knob 2 to minimize the aperture iris
diameter.
8. Pull out the field iris diaphragm knob 3 to minimize the field iris
diaphragm.
Now the aperture iris image should be visible on the U-CST.
9. Fit the Allen screwdriver in the two aperture iris centering screws | and
adjust so that the bright dot of the aperture iris image comes on the
image center.
Effects of Aperture Iris Diaphragm
The aperture iris diagram helps adjust the brightness of the observed
image and improve the contrast.
} The aperture iris diaphragm cannot be used as a substitute to the shutter
even when it is stopped down to the minimum aperture.
(Fig. 2)
12
