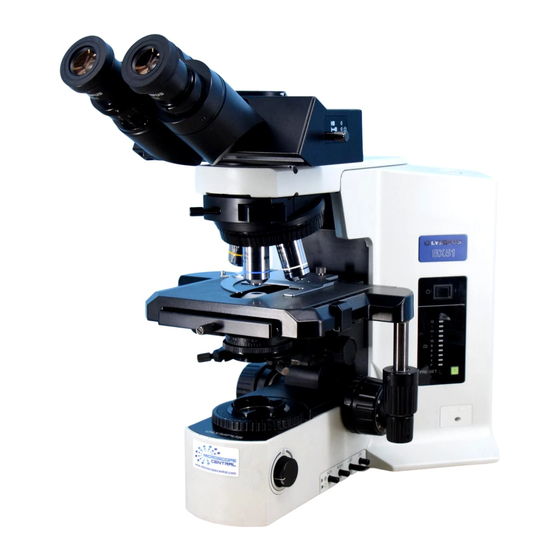
Olympus BX51 운영 매뉴얼 - 페이지 13
{카테고리_이름} Olympus BX51에 대한 운영 매뉴얼을 온라인으로 검색하거나 PDF를 다운로드하세요. Olympus BX51 17 페이지. System
Olympus BX51에 대해서도 마찬가지입니다: 사용 설명서 (40 페이지), 사용 설명서 (34 페이지), 사용 설명서 (37 페이지), 운영 매뉴얼 (11 페이지)

SIMULTANEOUS FLUORESCENCE AND DIFFERENTIAL INTERFERENCE
CONTRAST
1. Remove the microscope cover.
2. To turn on the mercury bulb, set the main switch (18) on the Power Supply Unit to "I"(ON).
The light indicator (19) on the Power Supply Unit should go ON. Wait 5 to 10 minutes for
the mercury bulb to stabilize. The mercury bulb should stay on for at least 15 minutes before
turning off.
3. Setup the microscope for Differential Interference Contrast (DIC) imaging (see instructions
on 'DIC' page 7, #2-20).
4. Engage the fluorescence mirror unit (17) until the proper filter cube is in place:
-
-
-
5. To allow light from the mercury bulb to reach the specimen, slide the shutter knob (20) to
position marked ™.
6. Adjust the transmitted light for the best balance of fluorescence and DIC brightness using the
brightness adjustment knob (3).
7. To improve image contrast and to prevent color fading of fluorescent light in other part than
observed region, pull out the field iris diaphragm knob (21) so that the image of the field iris
diaphragm just circumscribes the field of view.
8. To help adjusting the brightness of you the observed image and to improve the contrast, pull
out the aperture iris diaphragm knob (22), the aperture iris diaphragm will get smaller.
9. Examine specimen and document image if necessary:
-
-
-
10. To avoid bleaching, slide the shutter knob (20) to the position marked ˜ whenever you are
not observing the specimen.
11. When finished:
-
-
-
-
-
-
-
This Manual: http://www.manuallib.com/file/2605418
WU – #1, dichroic mirror DM400, excitation filter BP330-385, barrier filter BA420
WB – #2, dichroic mirror DM500, excitation filter BP450-480, barrier filter BA515
WG – #3, dichroic mirror DM570, excitation filter BP510-550, barrier filter BA590
If using 35mm film, use checklist for 'Olympus 35mm Camera'.
To obtain still digitized images, use checklist for 'Polaroid Digital Microscope
Camera (DMC).
To obtain still digitized images and digitized movies, use checklist for 'Sony, color
Video camera'.
Slide the shutter knob (20) to the position marked ˜.
If mercury bulb has burned for at least 15 minutes, turn off the mercury bulb by
setting the main switch (18) on the Power Supply Unit to "O"(OFF). The light
indicator (19) on the Power Supply Unit should go out.
NOTE: The mercury bulb needs to cool down for at least 15 minutes before turning
back on.
Lower the stage by turning the focus knob (10) towards you and remove the slide
with your specimen from the stage (7).
Turn the nosepiece (12) back until the 10x objective is into place.
If the100x objective was used, clean the lens carefully with lens paper ONLY (do
not use Kimwhipes).
Push the field iris diaphragm knob (21) and the aperture iris diaphragm knob (22) al
the way back into the microscope.
Engage the fluorescence mirror unit (17) back to BF (brightfield) - #6
11
