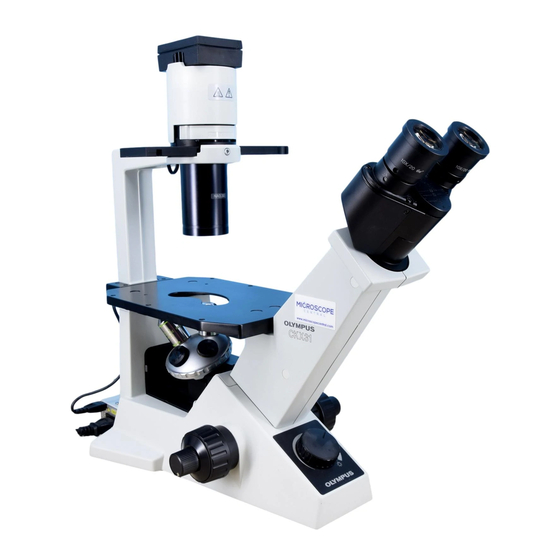
Olympus CKX31 수리 매뉴얼 - 페이지 39
{카테고리_이름} Olympus CKX31에 대한 수리 매뉴얼을 온라인으로 검색하거나 PDF를 다운로드하세요. Olympus CKX31 43 페이지. Culture microscopes
Olympus CKX31에 대해서도 마찬가지입니다: 개요 (7 페이지), 브로셔 및 사양 (4 페이지)

CKX31/CKX41
3-3 Parfocality adjustment for CKX41
Relay lens ass'y consists of three parts, lens frame-1(A), lens frame-2(B) and lens frame(C).
(For the composition of lenses, refer to the Fig.1 and Fig.2.)
Set the jigs to the microscope and check the parfocality. (refer to D-11.)
Adjustment procedure:
(1) Remove the stage, and take off the covers. (refer to the disassembly on C-3.)
(2) Remove the screws(*1) and remove the part of relay lens ass'y and TR body ass'y.
Screw: AB3X14SA(*1), Washer: BNW3SA 4pcs. each
(3) Loosen the screw(*2) and turn the relay lens ass'y counterclockwise to remove it.
Screw: ACU3X6SA(*2) 1pc.
(4) Remove the lens frame-1 ass'y(A) and insert appropriate washer(selection).
(5) Assemble the parts in reverse order of disassembly.
(6) Set the jigs, focus on the reticle of KN0048 and the specimen in KN0041.
At this time, read the difference from the index on the helicoid scale.
Standard: +/- 0.3mm (without 3 graduations)
Relay lens Ass'y
(D)
(B)
(C)
Fig. 1
D. REPAIR PROCEDURE
TR body Ass'y
*2
(A)
Selection: washer
AE092200(t = 0.7mm) standard
AE092100(t = 0.5mm)
AE092300(t = 1.0mm)
AB129900(t = 0.05mm)
AB130000(t = 0.1mm)
AB130200(t = 0.3mm)
Fig. 2
*1
Adjustment part
(A)
D-12
2
Scale
For setting the jigs,
refer to D-11.
*For adjustment amount,
refer to next page.
Washer insertion
screwed to TR body ass'y
