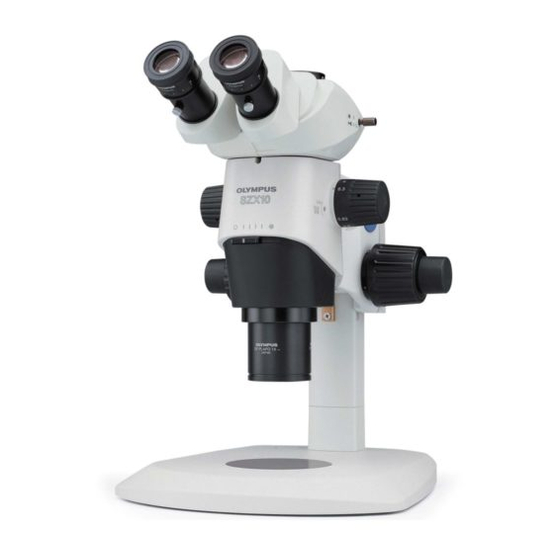
Olympus SZX10 사용 설명서 - 페이지 28
{카테고리_이름} Olympus SZX10에 대한 사용 설명서을 온라인으로 검색하거나 PDF를 다운로드하세요. Olympus SZX10 36 페이지. Research high-class stereo microscope
Olympus SZX10에 대해서도 마찬가지입니다: 개요 (24 페이지), 사용 설명서 (40 페이지)

5
3
Operation
24
|
6
³
Fig. 28
Fig. 29
@
Fig. 30
4. Place the revolving nosepiece mount ³ (with its objective mounts |
facing upward) where the objective mount has been by aligning the screw
holes.
Using the Allen wrench (for M3 screws), clamp the revolver mount with
the provided three clamping screws (M3, 6 mm long) 5. (Fig. 28)
# As the screw holes may be hidden behind the objective mounts |,
clamp the nosepiece mount while rotating it. (Fig. 28)
5. Install the focusing assembly on the pillar, and install the observation
tube in the original position.
6. Attach two objectives onto their respective objective mounts | by screw-
ing. (Fig. 28)
Hold the objective and gently rotate it until a click position on the front,
where the objective to be used is engaged in the light path.
Operation for Optical Axis Aligned Photomicrography
}Align the center of objective and that of the illumination light path with
the photo light path (the right line) to enable photomicrography with high
contrast.
1. Rotate the desired objective @ clockwise (15°) till the click position for
the photo light path. (Fig. 30)
(Fig. 29)
