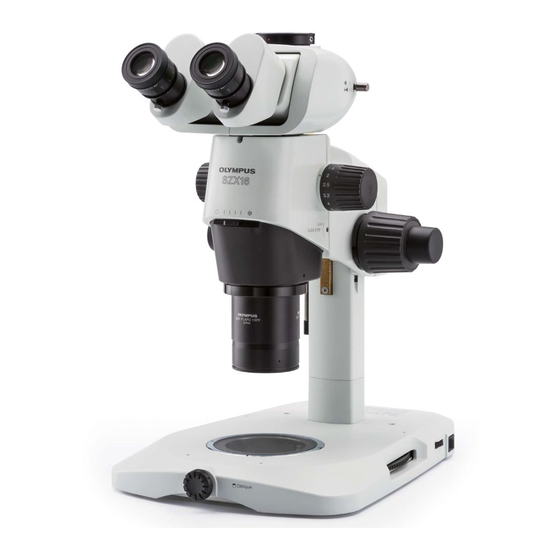
Olympus SZX16 사용 설명서 - 페이지 12
{카테고리_이름} Olympus SZX16에 대한 사용 설명서을 온라인으로 검색하거나 PDF를 다운로드하세요. Olympus SZX16 28 페이지. Research high-class stereo microscope
Olympus SZX16에 대해서도 마찬가지입니다: 개요 (24 페이지), 사용 설명서 (36 페이지), 사용 설명서 (40 페이지)

5-2 Detailed Assembly Procedure
Fig. 5
²
Fig. 6
Fig. 7
9
Attaching the Reflected
1
Fluorescence Illuminator
1. Fully loosen the focusing assembly clamping knob @ of the vertical
fluorescence illuminator and, holding the illuminator with both hands,
@
insert it gently and straight into the pillar support sleeve ² by aligning the
clamping knob with the mounting hole on the pillar support sleeve.
# Be careful not to tilt the illuminator when inserting it.
2. After inserting the illuminator all the way until it is stopped, tighten the
clamping knob @ firmly.
To prevent the system from turning over, install the illuminator so
that it faces the front.
²
2
Preparing the Microscope Body
@
Moving the Objective Mount
1. Place the zoom microscope body upside down on a flat desktop surface.
³
2. Using the Allen wrench, loosen the three screws ² clamping the objective
mount @, and remove it temporarily.
3. After the objective mount @ is removed three screw holes are exposed in
the locations 5 mm away in the direction of the arrow from the originally
used screw holes. Attach the objective mount into these three screw
holes by inserting and tightening the three screws.
# When using the SZX2-2RE16 revolving nosepiece, also move it to
the position 5 mm deviated from the original position. If the SZX2-
2RE16 is used, also note that it should be mounted after attaching
the zoom microscope body in section "
Microscope Body ".
Preparing the illuminator head insertion slot
1. To allow the illuminator head to be installed inside the microscope body,
remove the screws clamping the microscope body dummy cover ³
using the Allen screwdriver and remove the dummy cover ³.
|
}Keep the dummy cover and screw for reusing them in observations other
than the reflected fluorescence observation.
Preparing the Zoom Interlock Mechanism
1. Place the zoom microscope body in the erect position and remove the
cover cap | using tweezers or a precision screwdriver.
(Fig. 5)
(Figs. 6 & 7)
3
Mounting the Zoom
