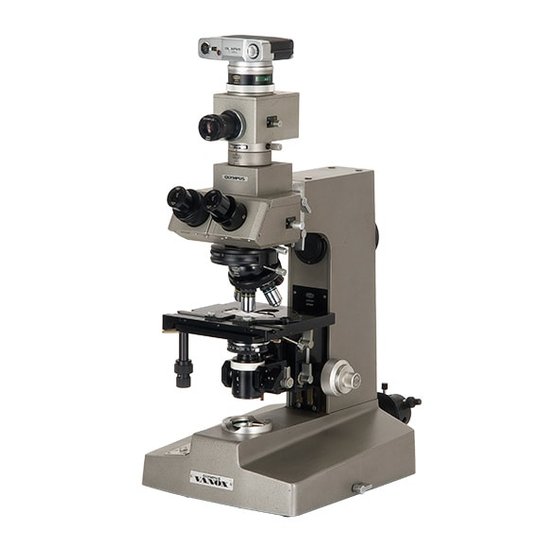
Olympus VANOX 사용 설명서 - 페이지 16
{카테고리_이름} Olympus VANOX에 대한 사용 설명서을 온라인으로 검색하거나 PDF를 다운로드하세요. Olympus VANOX 28 페이지. Universal research microscope

Remove dust
caps before mounting various components.
All clamping levers have arrows indicating their clamping dire.ction.
1,
Attachment of L~ght Source (Fig. 2)
l nsert the Fight source into the
flange
of the opening provided on the microscope stand,
aligning positioning groove and positioning pin,and lock by turning
the
knurled clamping
ring.
2.
Attach the Condenser Mount. (Fig. 3 )
First loosen clamping lever
a
,
then fit the mounting bracket
of
the condenser
mount
correctly
into the clamping block
@
of the stand from above, slide the
condenser mount down all
the way
and
lock with the clamping lever.
The arrow mark on the clamping lever shows the locking direction.
3.
Attach the Auxiliary Lens System. (Fig. 4)
Loosen clamping lever
@
of the lens
system,
press the unit onto the dovetail slide
@
of the condenser mount, left side first and lock with clamping
lever
@.
Fig. 2
Fig. 3
Fig. 4
4.
Insert the Condenser.
{F is. 51
Turn the arrow mark
@
on top of the condenser slide towards the condenser mount
0,
slide
the
condenser into the dovetail and lock with clamping screw
@
.
*
The
condenser
can also be inserted or removed with t h e mechanical
stage in place.
In
that
case, lower
the
condenser
with
the condenser height adjustment until i t can
easily
be
removed without hitting the stage.
5.
Mount the Mechanical Stage.
Insert the stage into the mounting block of the microscope stand in the same manner
as
lhe condenser mount, slide down the
stage all the way,
and lock w ~ t h clamping
lever /Fig.
6).
Stage insert and
specimen
holder are
packed
separately from the mechanical
stage; therefore, attach
the
insert by aligning the positioning pin and groove, the
holder by inserting into the slide provided on the stage. (Fig. 7.8)
8
If the mechanical stage is intended
to
be used a s a plain stage, the speclmen holder
need not be mounted.
Fig. 5
Fig.
6
