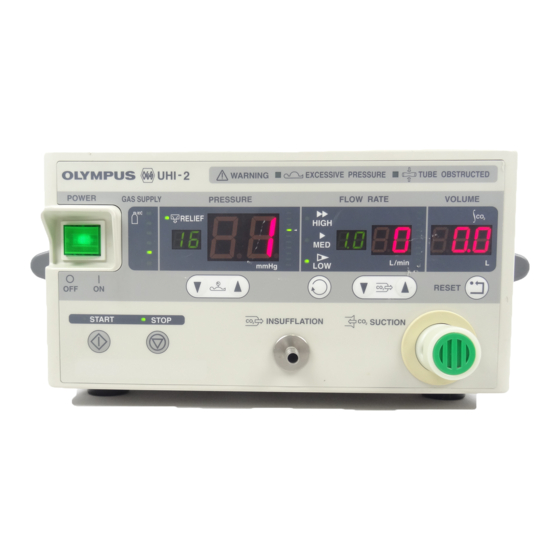
Olympus UHI-2 유지 관리 매뉴얼 - 페이지 23
{카테고리_이름} Olympus UHI-2에 대한 유지 관리 매뉴얼을 온라인으로 검색하거나 PDF를 다운로드하세요. Olympus UHI-2 38 페이지.

1. Precautions on Disassembling/Assembling
1-1 Disassembling
• Replace the parts and wires to the original positions.
• To ensure electrical safety and satisfy the electrical standard, be sure to assemble the following
parts to the original state.
Insulating materials such as insulating tube and mylar sheet
Cables clamped no to approached to the parts that generate heat and high voltage
Cover screws using a toothed lock washer to suppress a radiation noise
• Use the specified parts.
• The parts used in this unit are designed protective against vibration, heat and high voltage. Be
sure to select the parts with the same characteristics from the parts list when replacing the
parts.
• Be careful when removing the cable housing.
• Don't pull the cable. Be sure to use the specified special tool.
1-2 Assembling
• Replace the parts and wires to the original positions.
To ensure electrical safety and satisfy the electrical standard, be sure to assemble the following
parts to the original state.
• The insulating tube and mylar sheet attached in being insulated from the board
• The cables and parts clamped no to approached to the parts that generate heat and high
voltage
• Cover screws using a toothed lock washer to suppress a radiation noise
• Use the specified parts.
The parts used in this unit are designed protective against vibration, heat and high voltage. Be
sure to select the parts with the same characteristics from the parts list when replacing the
parts.
• Be careful not to be injured.
Some metallic parts have sharp corner or edge. Be careful when handling such parts.
• Be sure to observe the specified torque and dimensions.
Observe the torque and dimensions when they are specified.
As for the H-band which secures each tube, first tighten it by the specified torque and then pull
the tube to check whether the tube becomes loose or it comes off.
• Clean the parts to be used.
When re-using the same parts, eliminate the sealing material and tape and clean. For the O-
ring and packing, clean the surface of the parts on which the O-ring or packing is mounted.
Otherwise, it may cause water leakage.
• Don't forget to tighten the screws and nuts.
Failure in tightening the screws and nuts may cause water leakage.
2. Jigs and Tools
No.
Name
1
Spanner
2
Phillips screwdriver No. 2
3
Nejilock
4
DISASSEMBLING/ASSEMBLING PROCEDURE
Order No.
3-2
Specification
Remarks
