Olympus R1 사용 설명서 - 페이지 43
{카테고리_이름} Olympus R1에 대한 사용 설명서을 온라인으로 검색하거나 PDF를 다운로드하세요. Olympus R1 47 페이지. Cell counter
Olympus R1에 대해서도 마찬가지입니다: 빠른 참조 매뉴얼 (2 페이지)

Chapter 6 – Maintenance and Troubleshooting
6.1 Turning On/Off
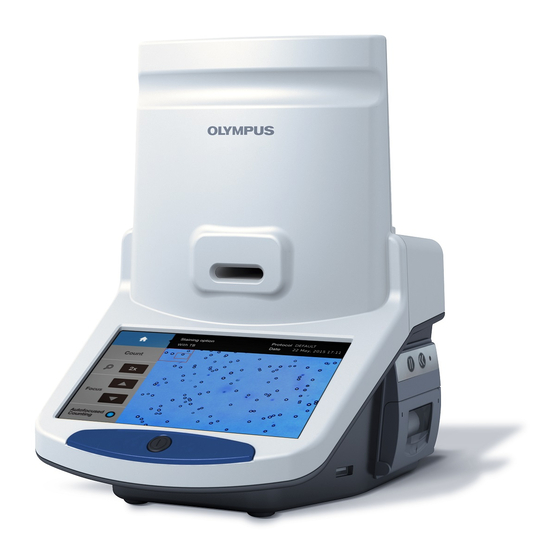
To turn the instrument on, push the power button below the touchscreen.
It is unnecessary to turn the instrument off between uses as standby mode is activated after ten minutes of
inactivity. The touchscreen will blackout in standby mode. Simply press the touchscreen or push the power
button to start the R1 up again.
Turn the instrument off at the end of each day.
To turn the instrument off, press the power icon in the main menu (see Section 2.2: Startup/Main Menu) or push
the power button for five seconds.
Recommended procedures of inserting/removing the USB memory
Inserting: insert the USB memory into the instrument after turning it on.
* If the USB memory is inserted into the instrument while it is turned off, the screen of the instrument might turn
white.
Removing: remove the USB memory from the instrument after turning it off.
* If the USB memory is removed from the instrument while it is turned on, reports might not be saved properly.
6.2 Cleaning
Turn the R1 off and disconnect the power cable before cleaning. Ensure that liquids do not enter any part of the
instrument during cleaning.
Clean the surfaces of the instrument with a soft cloth dampened with distilled water. Wipe dry immediately. Do
not pour or spray liquids directly onto the instrument. Do not wet electrical wires or connections in order to
avoid electrical shock or damage.
Clean the touchscreen with a soft cloth lightly dampened with an authorized LCD cleansing detergent. Wipe dry
immediately. Do not exert excessive force or pressure as this can damage the resistive touchscreen.
Do not use abrasive cloths or bleach solutions as this can cause topical damage.
If cell suspension is spilled on the instrument, clean the surfaces with a paper towel or a disposable laboratory
wipe dampened with 70% ethanol. If the cell suspension enters the instrument and is unreachable, contact
Olympus for assistance.
6.3 Installing Printer Paper
Pull the lever below the printer up to open the printer cover and reveal the paper receptacle.
Place the roll of receipt paper into the paper holder so that the end of the roll feeds from the top.
Pull the end of the printer paper roll out, and then close the printer cover.
Pull and tear the excess paper extending out of the printer.
42
