Olympus U-SDO3 사용 설명서 - 페이지 11
{카테고리_이름} Olympus U-SDO3에 대한 사용 설명서을 온라인으로 검색하거나 PDF를 다운로드하세요. Olympus U-SDO3 18 페이지. For 2, 5, 9, 10 and 13 persons
Olympus U-SDO3에 대해서도 마찬가지입니다: 사용 설명서 (40 페이지)
In general, the procedure for taking Photographs is the Same as usual. This section describes special considerations that
apply when taking Photographs with the discussion attachment installed.
1. Using the trinocular Observation tube on top of the microscope, you tan take Photographs that include the pointer.
+ When you use genuine Olympus trinocular Observation tubes, Photo eyepiece and photomicrographic equipment,
the pointer ( 0 1 is always focused on the film plane.
2. Brightness of the pointer is set to be brighterthan the specimen to ensure adequate contrast. This has the following effects
on Photographs that are not apparent during visual Observation.
l
Since the pointer is always overexposed when exposure is correct for specimen, the pointer color will bleach to white in color
photographs.
l
When taking Photographs with photomicrographic
equipment with automatic exposure control, the brightness of the
pointer will Cause the specimen to be underexposed. In such cases, set the photomicrographic
equipment's specimen
distribution compensation dial to the OVER position.
l
Since the effect of the pointer is especially great when making long exposures of dark specimens, check the exposure time
with the pointer illumination turned off, then make the exposure manually after turning the pointer illumination back on.
3. Take Photographs at the main observer's position.
* When taking Photographs, be Sure to place the stray light prevention cover 0 on the eyepiece 0 of the assistant
observer's Position.
.
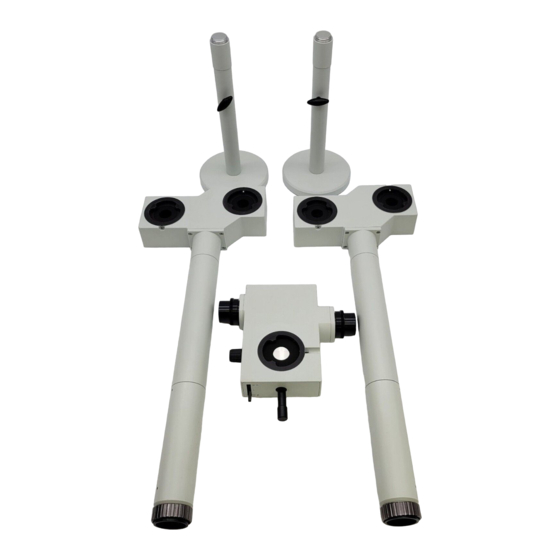
Fig. 5