Accumulators AI-CG6-6KTSS 설치, 작동 및 관리 매뉴얼 - 페이지 4
{카테고리_이름} Accumulators AI-CG6-6KTSS에 대한 설치, 작동 및 관리 매뉴얼을 온라인으로 검색하거나 PDF를 다운로드하세요. Accumulators AI-CG6-6KTSS 5 페이지. Piston accumulator

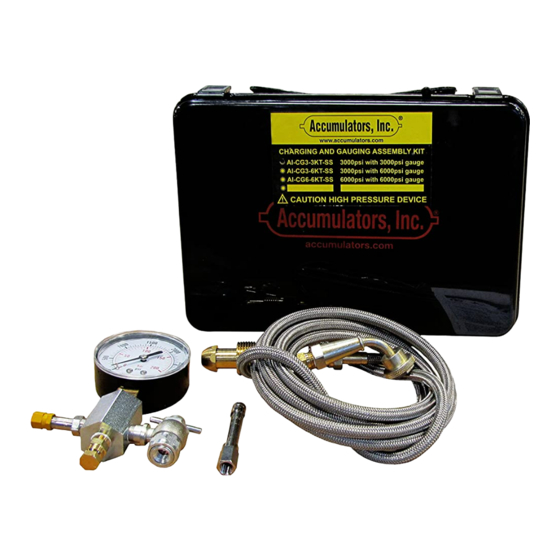
To release excess nitrogen gas (if any), open the bleed valve
located at the bottom of the gauging device until desired
pressure is achieved. Recheck the gas pre-charge.
STORAGE AND PRESERVATION
Contact Accumulators, Inc. sales department for storage
and preservation information. Store inside at room
temperature and lubricate inside of cylinder with aerosol
anti-corrosive applied through gas port.
DISASSEMBLY, INSPECTION AND ASSEMBLY
REMOVAL FROM SYSTEM
1. Turn off your system and RELEASE ALL fluid pressure.
2. Remove valve guard and valve cap from accumulator.
3. Install a genuine ACC INC approved charging and gauging
assembly appropriate to the system pressure rating. Release
gas pressure.
B. DISASSEMBLY
Further disassembly should be carried out in a suitable,
clean area.
1. Clamp the piston accumulator to a work bench and
remove the gas valve, adapters, and all accessories.
2. Unscrew the end caps on the gas and fluid side using
apropriate spanner wrench or threaded rods positioned
opposite each other. On large end caps, an extension rod can
be used.
3. Push the piston out of the accumulator in the direction of
the fluid side using a suitable plastic/wooden rod and rubber
mallet--taking care not to dent cyclinder threads.
TESTING AND CLEANING
A. Cylindrical shell:
1. Carefully clean the inside of the shell with a non-aggressive,
non-abrasive cleaning agent, then dry with a lint free cloth.
Check the inside of the shell for rough spots and grooves. If
defects are found, Accumulators, Inc. can re-machine the
cylindrical shell (within certain tolerances). Please contact us
for details.
2. If any external or internal damage is found, the pressure
vessel must be submitted to the manufacturer and, if applicable,
the appropriate inspection authority for assessment.
B. End caps:
Carefully clean the end caps, checking for rust, thread
dings, or other defects. Replace both 'O' and back up rings.
C. Piston:
Remove all seal and guide rings, clean the piston thoroughly
and inspect for defects.
INSTALLING PISTON SEALS
Follow the detailed instructions below on how to install seals
onto a conventional piston. Unitized pistons only require
replacement of the central seal system.
1. Place both wear bands
into deeper piston counter-
bore
to
preload
shape
before proceeding with seal
installment.
2. Place the piston seal into
a bath of water and begin
to heat. This will allow the
seal to expand for easier
installment.
3. Heat the submerged seal
to a temperature of about
200*F for 15 minutes.
4. Meanwhile, place O-ring
energizer on top of the
piston, making sure not to roll
or twist it.
5. Loop a sturdy ribbon around
the o-ring.
6. Pull the ribbon and stretch
the o-ring, rolling the piston
like a wheel to ensure correct
installment of the o-ring into the
center groove on the piston.
This ensures the o-ring does
not twist.
