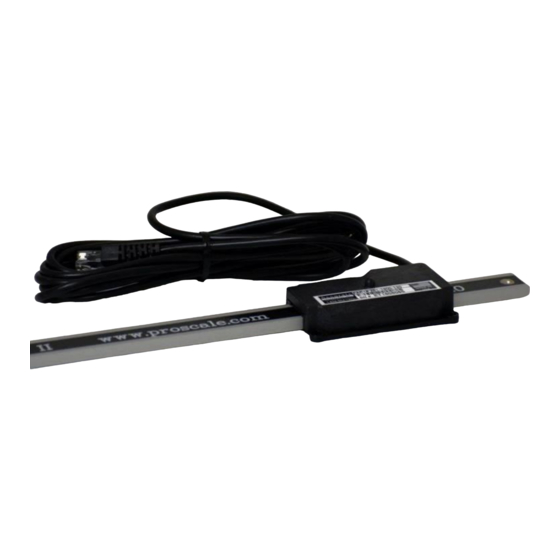
Accurate Technology ProScale 19 빠른 시작 설치 매뉴얼 - 페이지 5
{카테고리_이름} Accurate Technology ProScale 19에 대한 빠른 시작 설치 매뉴얼을 온라인으로 검색하거나 PDF를 다운로드하세요. Accurate Technology ProScale 19 8 페이지.

Installation
ProScale Model 19 can be used in many different measurement applications,
and with numerous types and brands of equipment. Therefore, all
installations will be a little different, and it is the responsibility of the user to
choose the bolts, screws, or other mounting hardware that guarantee proper
installation for optimum operation in their application.
1.
For Model 190, the encoder orientation on the scale is not critical.
2.
Determine an appropriate mounting location. Most
applications will mount the encoder to a fixed part of the
machine while the scale passes through it (scale is attached
to moving part of the machine). When the encoder is
mounted stationary, the scale should be attached to the
moving part of the machine using the Connector Link. Attach
the encoder to machine using two or three screws. Attach one end of
the connector link to the scale using the included screw, and the other
end to the moving part on your machine. Check that the scale is
properly aligned with the direction of machine's motion.
NOTE: The connector link compensates for small misalignments in the
installation and acts as a shear pin. If this link breaks, be sure to adjust
alignment of the scale before replacing the link.
3.
If your application is better suited to the scale being installed in a fixed
position, with the encoder moving along it, you should use the Guide
Clip to move the encoder along the scale. Mount the scale to fixed part
of your machine. Be sure it is properly aligned with the
direction of machine motion. Slide the encoder onto the
scale. Mount the guide clip to moving part of the
machine. The guide clip is designed to compensate for
slight misalignments.
NOTE: The guide clip must be mounted perpendicular to
the direction of travel of the Encoder. When properly
installed, the guide clip will exert some pressure onto the encoder over
the full range of travel.
4.
Plug the encoder into the readout and refer to the operation manual that
accompanied your digital readout for information about set-up,
installation and operation.
NOTE: Do not drill through the colored portion of the scale at any point over
which the encoder will travel.
ProScale Model 19 Quick Installation
Page 5 of 8
