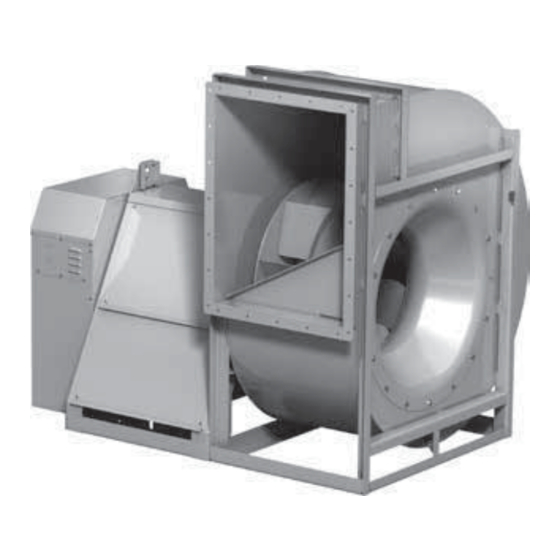
Accurex XUEF-300 설치, 운영 및 유지보수 매뉴얼 - 페이지 11
{카테고리_이름} Accurex XUEF-300에 대한 설치, 운영 및 유지보수 매뉴얼을 온라인으로 검색하거나 PDF를 다운로드하세요. Accurex XUEF-300 20 페이지. Utility fans

Unit Start-Up
WARNING
Disconnect and secure to the OFF position all
electrical power to the fan prior to inspection
or servicing. Failure to comply with this safety
precaution could result in serious injury or death.
DANGER
Pour écarter les risques de blessure grave ou
de mort, débrancher et verrouiller l'alimentation
électrique en position « Arrêt » avant tout contrôle
ou entretien.
Visual Inspection of Equipment
The equipment type and arrangement should be
verified as ordered at once when it arrives at the
jobsite. When a discrepancy is found, the local
representative must be notified immediately so
that corrective action may be investigated. Verify
electrical conformance to specifications. Unauthorized
alterations and unauthorized backcharges will not be
recognized by manufacturer.
After the unit has been assembled, installed and all
utilities have been hooked up, the unit is ready for
operation.
Check
Before starting the unit, check the following:
1. Confirm that building supply voltage matches the
voltage for which the unit is wired.
2. Check all piping and wiring penetrations made by
contractors for water tightness. All penetrations
must be made watertight to prevent water
damage to the unit and building.
3. Rotate the fan wheel manually to be sure that it
is free to operate. Remove any dirt or debris that
may have accumulated during installation.
4. Check the fan bearing setscrews for tightness.
5. Check alignment of sheaves and V-belts. See
Belt Drive Maintenance section.
6. Inspect all fasteners to ensure that none have
loosened during shipment.
7. Check flex coupling for proper alignment and
connect between motor shaft and fan shaft
(direct drive).
8. Check all guarding to ensure that it is securely
attached and not interfering with rotating parts.
9. Check all electrical connections for proper
attachment.
10. Check housing and ductwork, if accessible,
for obstructions and foreign material that may
damage the fan wheel.
11. Fill drainage piping trap.
Additional Steps for Initial Start-Up
1. Check for proper wheel
rotation by momentarily
energizing the fan. Access to
view the wheel can be gained
through the blower housing
access panel.
One of the most frequently encountered problems
are motors that are wired to rotate the wheel in
the wrong direction. This is especially true with
3-phase installations where the motor will run in
either direction, depending on how it has been
wired. To reverse rotation of a 3-phase motor,
interchange any two of the three electrical leads.
Single phase motors can be reversed by changing
internal connections as described on the motor
label or wiring diagram.
2. Fans with multi-speed motors should be checked
on low speed during initial start-up.
3. Check for unusual noise, vibration or overheating
of bearings. Refer to the "Troubleshooting" section
of this manual if a problem develops.
4. Grease may be forced out of the bearing seals
during initial start-up. This is a normal self-purging
feature for the type of bearing used on this
product.
NOTE
Model XUEF units should be operated only when
attached to the system for which they were
designed. Without proper system static pressure,
the motor could be overloaded.
Model XUEFD-100-BI - Three-phase
This unit ships with the variable frequency drive (VFD)
preprogrammed based on selected performance. No
additional programming is required.
1. To operate, turn disconnect on and allow VFD to
power up.
2. Once VFD display is shown, press LO/RE button
which will switch control from remote to local.
3. If necessary, use vertical arrows to scroll through
display screens to find frequency reference F.
4. Frequency should be programmed from factory.
To balance system (by adjusting frequency), press
Enter and use vertical arrows and Reset / > button
until desired frequency is achieved. Press Enter to
set frequency.
5. Press Run to start fan.
6. If additional adjustment is required, press Stop and
repeat steps 3-4.
Utility Fans
11
