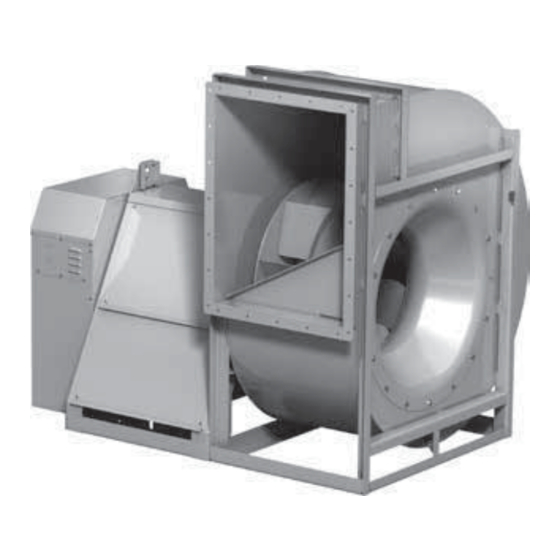
Accurex XUEF-300 설치, 운영 및 유지보수 매뉴얼 - 페이지 4
{카테고리_이름} Accurex XUEF-300에 대한 설치, 운영 및 유지보수 매뉴얼을 온라인으로 검색하거나 PDF를 다운로드하세요. Accurex XUEF-300 20 페이지. Utility fans

General Information
To ensure a successful installation, the instructions in
this manual should be read and adhered to. Failure to
comply with proper installation procedures may void
the warranty.
Unit and System Identification Tags
Each fan has a permanently affixed manufacturer's
engraved metal nameplate containing the model
number and individual serial number.
The tag shown is an example of an identification
nameplate on the fan. The information provides
general details about
the fan, as well as
containing specific
information unique
to the unit. When
contacting your
local manufacturer's
representative with future needs or questions, please
have the information on this label available. Tags are
mounted in an area which is clearly visible, usually on
the side of the fan cabinet.
Pre-Installation Information
Before installation, it is important to be certain the
mounting surface will bear the operating weight of the
unit. For proper unit operation, it is also important that
it be operated in a completely level position.
For further details on safety practices involving
industrial and commercial fans, please refer to AMCA
Publication 410.
Electrical Disconnects
All fan motors should have disconnects located in
close visual proximity to turn off electrical service.
Service disconnects shall be locked-out when
maintenance is being performed.
NOTE
Models XUEFD and XUEF-100-BI, and XUEF-100-FC
will include an integrated electrical disconnect.
Moving Parts
All moving parts must have guards to protect
personnel. Refer to local codes for requirements as to
the number, type and design. Fully secure fan wheel
before performing any maintenance. The fan wheel
may start "free wheeling" even if all electrical power
has been disconnected. Before the initial start-up or
any restart, check the following items to make sure
that they are installed and secure.
• Do not spin fan wheel faster than the maximum
cataloged fan RPM.
• Adjustments to fan speed significantly effects
motor load. If the fan RPM is changed, the motor
current should be checked to make sure it is not
exceeding the motor nameplate amps.
4
Utility Fans
Guards – Motor Cover, Weatherhood,
Shaft, Belt, Inlet or Outlet Guard
Do not operate fans without proper protective devices
in place. Failure to do so may result in serious bodily
injury and property damage. Check local codes to
ensure compliance for all protective devices.
Access Doors
Before opening access doors, ensure the fan wheel
has stopped moving and that the wheel has been
secured from being able to rotate. Do not operate fan
without access door in its fully closed position.
Air Pressure and Suction
In addition to the usual hazards associated with
rotating machinery, fans also create a dangerous
suction at the inlet. Special caution needs to be used
when moving around a fan, whether it is in operation
or not. Before start-up, make sure the inlet area is
clear of personnel and loose objects.
Fans – Rigging and Lifting
IMPORTANT
Fans should never be lifted by the shaft, motor,
motor cover or accessories.
1. Before lifting, be sure that all shipping materials
have been removed from the unit.
2. Use standard lifting and rigging practices.
3. ALL lifting brackets on each unit must be utilized at
the same time.
4. Fan to be kept level during lifting and installation.
5. Spreader bars must span the unit to prevent
damage to the unit by the lifting cables.
6. Always test-lift the unit to check for proper balance
and rigging before hoisting to desired location.
7. Never lift unit in windy conditions.
8. Preparation of roof opening should be completed
prior to lifting unit to the roof.
Fans are to be rigged and moved by the lifting
brackets provided or by the skid when a forklift is
used. Location of brackets varies by model and size.
Handle in such a manner as to keep from scratching
or chipping the coating. Damaged finish may reduce
ability of fan to resist corrosion.
See coating repair section of this manual for details
regarding touch-up of damaged surfaces.
