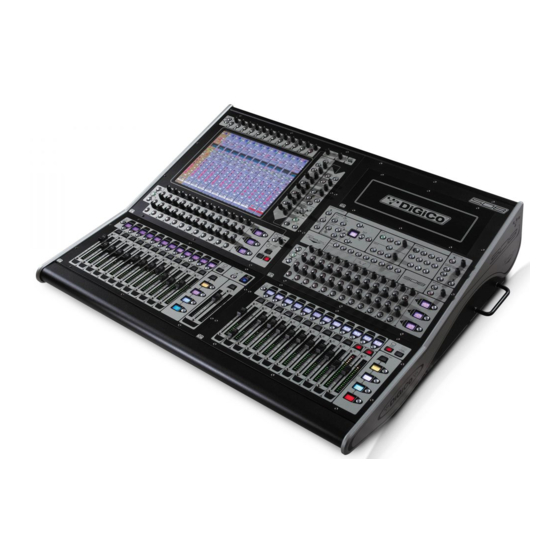
digico SD10 사용자 설명서 - 페이지 18
{카테고리_이름} digico SD10에 대한 사용자 설명서을 온라인으로 검색하거나 PDF를 다운로드하세요. digico SD10 20 페이지. Replacing and cleaning faders
digico SD10에 대해서도 마찬가지입니다: 매뉴얼 (9 페이지)

Chapter 1 - Getting Started
1.4.2 Audio I/O Panel.....................................................................
The Audio I/O window is used to configure the physical I/O connected to the SD10, including configuring and naming the sockets
of the cards installed in racks, and the setting of Pads and phantom power.
Local I/O : The SD10 provides local audio I/O in the rear of the console. These operate independently of connected racks.
To access the SD10 Audio I/O Setup touch Setup>Audio I/O on the Master Screen
The Audio I/O window that opens is divided up into the following sections:
Port selection
The top-left corner of the window shows the ports. Each port relates to an available physical audio connection (Local IO, MADI
Ports or optional Optocore connections).
The top section to the right of this contains the controls relating to the ports. When a port is selected, this section changes to
reflect the status of the selected port, and allows it's configuration to be changed as required.
Below the port controls is a graphical representation of the rack configuration connected to the selected port. Depending on the
port selected, the graphic will change, showing the available physical I/O. Each small "square" on the image represents a single
physical audio connection or socket, with these arranged in columns or rows, representing I/O cards in racks, or the local I/O on
the back of the console.
The section below the graphical rack picture displays one of three things, as selected by the coloured buttons to its left:
-
Select Cards &Sockets to configure the cards or slots and sockets, including
custom naming, phantom power and pad selection.
-
Select Splits &Sharing to configure the sharing of card control between consoles
and split outputs on an SD Rack
-
Select Setup Optocore to configure optocore connections (See the separate
Optocore v221 manual)
The local I/O configuration is fixed, so no hardware changes are possible. You can, however, change the Port Name, the Group
Names and the Socket Names (the name of each physical connector on a card).
Note that Setup Optocore only applies (and only appears) if the session is setup to use Optocore version 221.
1-10
Port properties
Graphic of
connected
rack
Options display for:
Cards & sockets,
Splits & Sharing,
or Optocore setup.
(Defined by buttons
to the area's left)
