Epson 9800 - Stylus Pro Color Inkjet Printer 포장 풀기 및 설정 매뉴얼 - 페이지 13

{카테고리_이름} Epson 9800 - Stylus Pro Color Inkjet Printer에 대한 포장 풀기 및 설정 매뉴얼을 온라인으로 검색하거나 PDF를 다운로드하세요. Epson 9800 - Stylus Pro Color Inkjet Printer 27 페이지. Stylus pro 800 series
Epson 9800 - Stylus Pro Color Inkjet Printer에 대해서도 마찬가지입니다: 브로셔 및 사양 (8 페이지), 시작하기 매뉴얼 (10 페이지), 사용자 설명서 (11 페이지), 빠른 참조 매뉴얼 (12 페이지), 제한 보증 (12 페이지), 브로셔 및 사양 (8 페이지), 브로셔 및 사양 (6 페이지), 브로셔 및 사양 (16 페이지), 공지 사항 시트 (4 페이지)
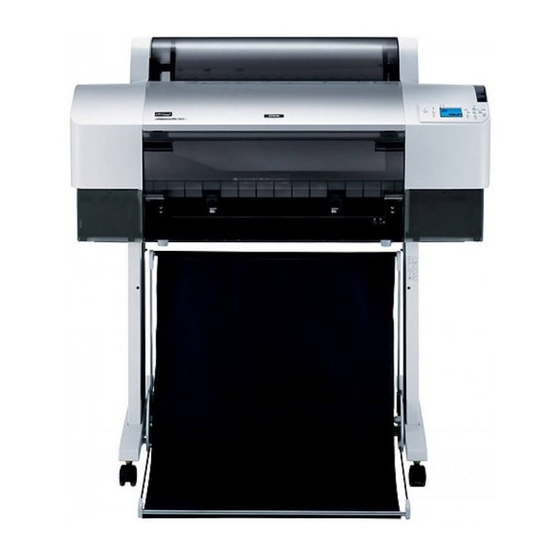
Epson 9800 - Stylus Pro Color Inkjet Printer 포장 풀기 및 설정 매뉴얼
3. Lift the box up and away from the printer.
Remove all the items from the hollow (A and
B) on the rear side of the printer.
Note:
The ink cartridges included with your printer are
primarily for initial setup.
4. Remove the polystyrene foam stoppers under
the printer.
5. Remove the protective materials:
❏ from the front cover (tape).
❏ from the ink compartment cover (tape).
❏ from the maintenance tank (tape).
❏ from the side of the print head
compartment (screw and metal plate
inside the front cover).
Note:
Do not re-install the screw. Store it separately to
avoid losing it.

Using the Stand

Checking the contents of the package
Before assembling the Stand, check the contents of
the package to make sure that all of the items
shown are included, and are not damaged.
Parts:
A
C
E
A:
Right base (1) and Left base (1)
B:
Right leg (1) and Left leg (1)
C:
Bottom horizontal strut (1)
D:
Top horizontal strut (1)
E:
Basket hooks (4)
F:
Paper basket (1)
Tool:
G
Hex wrench (2)
G:
B
D
F
13