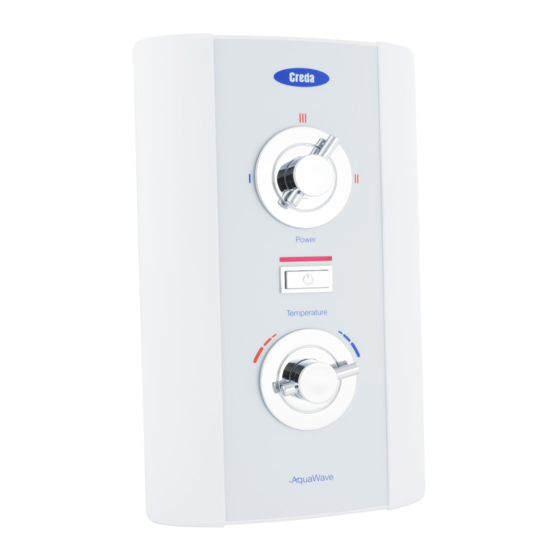
Creda Aquawave White 설치 및 사용자 설명서 - 페이지 3
{카테고리_이름} Creda Aquawave White에 대한 설치 및 사용자 설명서을 온라인으로 검색하거나 PDF를 다운로드하세요. Creda Aquawave White 8 페이지. Electric shower (covers white, colour and heritage models)
GUARANTEE AND CONTACT DETAILS
Full details of terms and conditions are available on request from:-
APPLIED ENERGY PRODUCTS LIMITED
MORLEY WAY, PETERBOROUGH PE2 9JJ
TEL: +44 (0) 1733 456789
FAX: +44 (0) 1733 310606
Website: www.creda-showers.co.uk
14
HOW TO INSTALL YOUR AQUAWAVE SHOWER
WARNING: ALL WIRING AND INSTALLATION MUST BE
SUPERVISED BY A SUITABLY QUALIFIED PERSON.
WARNING: DO NOT INSTALL THIS SHOWER WHERE IT MAY BE
SUBJECTED TO FREEZING CONDITIONS
We recommend that the installation is done in the following sequence.
a. Fixing the shower to the wall
b. Plumbing c. Electrical connections
a. FIXING THE SHOWER TO THE WALL
1. Position the riser rail at a convenient height for majority of users as
detailed in Diagram 1 and mark its position.
2. Position the heater so that the top of the unit is horizontal and level
with, or a maximum of 0.6 metres (2ft) below the top of the
riser rail. Choose a flat piece of wall to avoid the possibility of
distorting the backplate, as this may make the front cover a poor fit.
3. Adjust the position to get the most convenient arrangement taking
the following into account.
The heater must not be mounted in the direct spray from the handset.
The handset must not be able to come into contact with used water in the cubicle, bath or
basin. If it can, then a vacuum breaker must be fitted (available from us if required).
4. Fix the riser rail with screws provided.
The fixing holes at the base of the brackets will be disclosed by removing the plastic fronts.
Aquawave Contemporary Models (See Diagrams 5a/b and instructions supplied with accessories).
Aquawave Heritage Models (see Diagram 5c).
5. If you have not yet done so, remove the front cover assembly by undoing the retaining screws at
the top and bottom of the unit and lifting the cover off.
6. Your shower unit not only accepts services from the top, bottom or rear.
It also accepts services from the left or right hand side of the unit.
Decide the position of the electrical cable into the unit.
If top entry is chosen, cut away the walls in the backplate as shown in Diagram 2a.
If bottom entry is chosen, cut away
the walls in the detachable bottom
section as shown in Diagram 2b.
The detachable bottom section is
secured to the backplate by 2 screws.
7. Decide the position of entry of the
cold water pipe into the unit.
If top entry is chosen,
cut away the backplate as shown in
Diagram 2a.
If bottom entry is chosen, cut away the
walls in the detachable bottom section
as shown in Diagram 2b.
If rear, please read the section on plumbing. To aid installation, you may find it convenient to
move the flexible pressure relief valve outlet assembly by removing the two securing screws.
If you do, please ensure that they are fully tightened on re-assembly (see Diagram 2b).
3