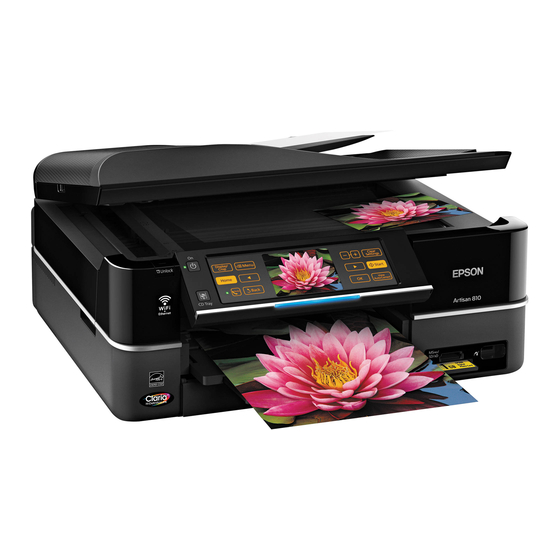
Epson Artisan 837 여기에서 시작 - 페이지 2
{카테고리_이름} Epson Artisan 837에 대한 여기에서 시작을 온라인으로 검색하거나 PDF를 다운로드하세요. Epson Artisan 837 4 페이지. Color inkjet printer
Epson Artisan 837에 대해서도 마찬가지입니다: 빠른 매뉴얼 (44 페이지), 시작 매뉴얼 (4 페이지), 사양 (2 페이지), 여기에서 시작 (4 페이지), 여기에서 시작 (2 페이지), 자주 묻는 질문 (4 페이지), 서비스 매뉴얼 (20 페이지)

4
I nsert the cartridges in the holder for each color. Press
each cartridge down until it clicks.
5
Lower the scanner unit.
6
W ait while the printer is priming, which takes about 7
minutes.
N ote:
Your printer ships with full cartridges and part of the
ink from the first cartridges is used for priming the printer.
Replacement cartridges will print more pages.
C
aution: Don't turn off the printer while it is priming or you'll
waste ink.
7
W hen you see this menu on your
product's LCD screen, do not
make a selection yet. Continue
with the instructions in the
following sections to load paper in
your product and install software.
5
Load paper
The paper cassette has 2 trays. The main tray is for letter-
size, A4, legal-size, or 8 10-inch paper. The photo tray is for
4 6- or 5 7-inch photo paper. For instructions on loading
legal-size paper, see the online User's Guide.
1
O pen the front cover (if it's not open already).
2
P ull out the paper cassette at the bottom of the printer.
Then slide back the photo tray and lift it up.
3
S queeze the edge guides and slide them out. Then insert
paper with the glossy or printable side facedown.
4
S lide the edge guides against the paper, but not too
tight. Make sure the paper is under the tabs on the edge
guides.
5
Lower the photo tray.
6
S queeze the edge guides and slide them out. Then
insert 4 6-inch or 5 7-inch photo paper with the
glossy or printable side facedown.
Note: Make sure the paper fits under the edge guides.
7
Slide the edge guides against the paper.
8
Keep the cassette flat as you insert it.
9
Extend the output tray and flip up the paper stopper.
N
ote: Do not flip up the paper stopper if you're using legal-size
paper.
Letter
4
6 in
(102
152 mm)
