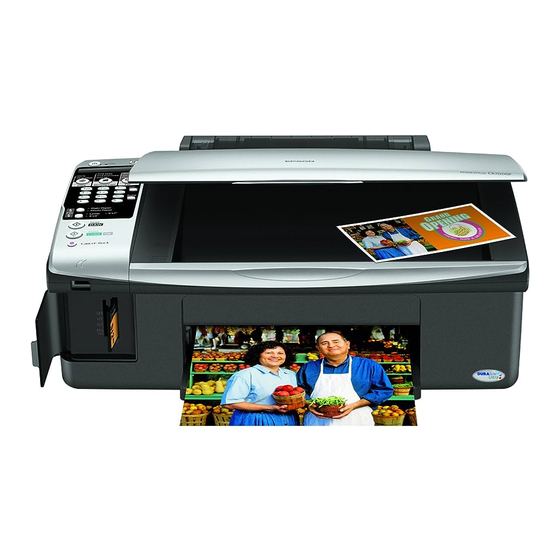
Epson CX7000F - Stylus Color Inkjet 여기에서 시작하기 매뉴얼 - 페이지 2
{카테고리_이름} Epson CX7000F - Stylus Color Inkjet에 대한 여기에서 시작하기 매뉴얼을 온라인으로 검색하거나 PDF를 다운로드하세요. Epson CX7000F - Stylus Color Inkjet 8 페이지. Supplemental / late breaking information windows vista
Epson CX7000F - Stylus Color Inkjet에 대해서도 마찬가지입니다: 빠른 매뉴얼 (20 페이지), 업데이트 (1 페이지), 보충제 (1 페이지), 빠른 시작 매뉴얼 (4 페이지)

2
Turn On the CX7000F Series
1
Connect the power cable.
2
Press the
3
You see Region on the display screen. Press the
Start Color/OK button.
4
You see USA. Press the
5
You see Date/Time. Press the
6
Use the number keys to enter the month, day, and year.
Press the
7
Use the number keys to enter the hour and minutes.
Press the
8
Press 1 to select AM or press 2 to select PM.
9
You see No Cyan Magenta Yellow Black. Press the
Start Color/OK button.
3
Install Ink Cartridges
Caution: Do not open ink cartridge packages until you are ready to install
the ink. The ink cartridges are vacuum packed to maintain reliability.
Note: Don't load paper before installing the ink cartridges.
1
Lift up the scanner.
2
Open the ink cartridge cover.
3
Shake the ink cartridges, then unpack them.
On button.
Start Color/OK button.
Start Color/OK button.
Start Color/OK button.
Start Color/OK button.
