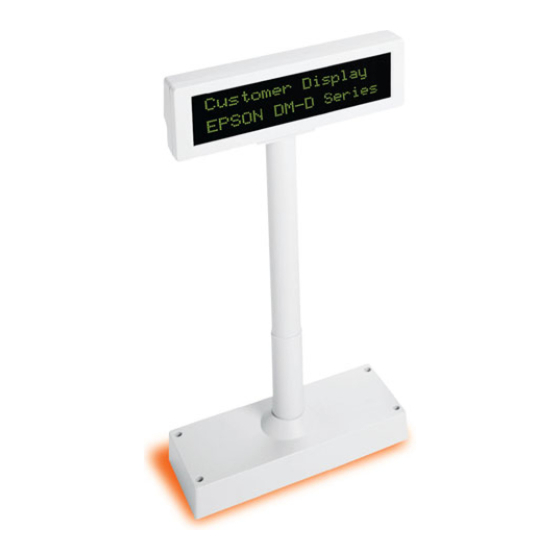
Epson DM-D210 Series 사용자 설명서 - 페이지 7
{카테고리_이름} Epson DM-D210 Series에 대한 사용자 설명서을 온라인으로 검색하거나 PDF를 다운로드하세요. Epson DM-D210 Series 20 페이지. Customer display
Epson DM-D210 Series에 대해서도 마찬가지입니다: 사용자 설명서 (17 페이지), 제품 설명서 (27 페이지), 사양 시트 (2 페이지), 설치 매뉴얼 (42 페이지), 여기에서 시작 (2 페이지)

Changing the Orientation of the Display Unit
The angle and direction of the display unit can be changed by pressing on the
struts with your hand while moving the display unit. The display unit will move
with only light pressure, so do not apply more pressure once the unit stops
moving. Applying excess force to move the display unit may cause damage.
When installed in the IR-700 or TM printer, there may be situations where the
display unit cannot be turned to the desired direction. In these situations, remove
the customer display and base unit, then adjust the position of the lug in the base
unit before reattaching.
See Illustration D (DM-D110) and Illustration E (DM-D210).
DIP Switches
The DIP switches configure the communication settings and whether a self-test is
required.
CAUTION:
Do not remove the DIP switch cover until after turning the power off. Removing
the cover while the power is turned on may damage the device.
DIP Switch 1 Functions
DSW1 No.
1-1
Received Error Data
1-2
Receive Data Length
1-3
1-4
Parity Selection
1-5
Communication Speed
1-6
1-7
1-8
Execute Self-Test (*1)
(*1) Executes the self-test once only when the power is turned on.
Transfer Speed Switching
SW1-5
ON
OFF
ON
OFF
ON
OFF
ON
OFF
*1 Default Setting
*2 Setting that is used when connecting to the USB model of the EPSON TM printer.
Function
Parity
Switching
SW1-6
ON
ON
OFF
OFF
ON
ON
OFF
OFF
ON
Ignore
7bit
With Parity
Even
Refer to "Transfer Speed Switching"
Yes
Transfer Speed
SW1-7
ON
ON
ON
ON
OFF
OFF
OFF
OFF
DM-D110/D210 User's Manual 7
OFF
Default Setting
"?" Display
8bit
No Parity
Odd
No
(bps)
2400
4800
9600*1
19200*2
38400
57600
115200
(Reserved)
English
OFF
OFF
OFF
OFF
ON
OFF
ON
OFF
