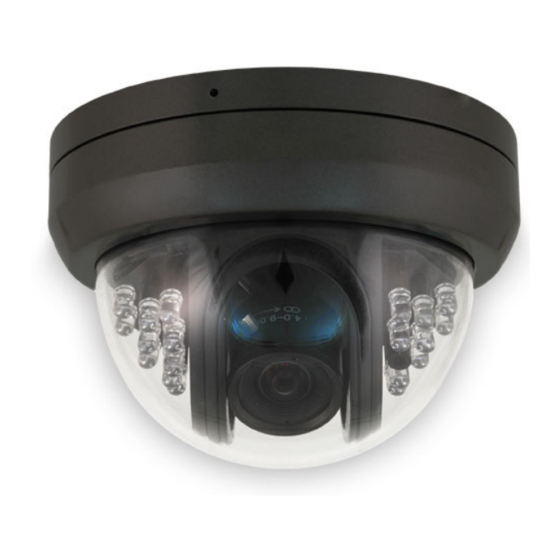
Digimerge DCDHR2532 빠른 설정 매뉴얼 - 페이지 2
{카테고리_이름} Digimerge DCDHR2532에 대한 빠른 설정 매뉴얼을 온라인으로 검색하거나 PDF를 다운로드하세요. Digimerge DCDHR2532 2 페이지. Hi-res vandal resistant color ir day/night dome camera with vari-focal lens

1. Package Contents
1 x Hi-Res Vandal
Resistant Color Day/
Night Dome Camera
1 x AC Power Adaptor
1 x Mounting Bracket
1 x Allen Key for Tamper
Proof screw
1 x Package of Screws
Features:
• High resolution 1/3" Color CCD
• 480 TV Lines of Resolution
• 19 IR LEDs provide IR range up to 50ft.
(15m) *
• Varifocal Lens (4-9mm)
• Auto Back Light Compensation
• 360° manually adjustable viewing direction
• High Impact Dome can withstand a strike
from a 10lb. sledge hammer
• Includes 12V DC power supply
* Under ideal conditions. Objects at or beyond may be partially or
completely obscured, depending on the camera application.
WARNING
- A REGULATED 12V DC / 24V AC power supply is
included with this camera. Use of a non-regulated, non-conforming
power supply can damage this product and will void the warranty.
2. Installing the Video Camera
Before Installation:
• Unscrew the Camera Ring from the Camera
Base.
• Unplug the LED Power Connector inside the
Camera Dome.
NOTE: There are 2 installation options:
1. Ceiling Mounted by directly mounting the camera
using the provided screws.
2. Wall Mounted using the provided wall mount
bracket. It is not recommended to mount the camera
directly to the wall, as the viewing angle may not be
level.
Camera Installation:
1. Install the Mounting Bracket to the ceiling or
wall using the provided screws.
2. Mount the camera base to the ceiling or wall
by lining up the camera base with the camera
mounting bracket, and tightening the screws.
3. Adjust the Zoom and Focus using the
adjustor levers beside the lens.
Focus
3. Camera Setup
4. Place the dome cover over the camera (once
mounted).
5. Secure the Dome to the Camera using the
Ring. Screw in the Tamper Proof Screw with
the provided Allen Key.
1
Camera Setup Diagram:
2
Zoom
