Cisco 300 Series 빠른 시작 매뉴얼 - 페이지 5
{카테고리_이름} Cisco 300 Series에 대한 빠른 시작 매뉴얼을 온라인으로 검색하거나 PDF를 다운로드하세요. Cisco 300 Series 18 페이지. Managed switches
Cisco 300 Series에 대해서도 마찬가지입니다: 데이터시트 (14 페이지), 빠른 시작 매뉴얼 (17 페이지), 빠른 시작 매뉴얼 (17 페이지)
- 1. Quick Start Guide
- 2. Mounting the Cisco Switch
- 3. Rack-Mount Placement
- 4. Wall Mounting
- 5. Connecting Network Devices
- 6. Power over Ethernet (Poe) Considerations
- 7. Troubleshoot Your Connection
- 8. Front Panel Ports
- 9. Reset Button
- 10. Back Panel
- 11. Front Panel Leds
- 12. Returning the Device to the Factory Default Settings
- 13. Where to Go from here
There is a wall-mount kit packed with your switch. The dimensions for the
mount kit are as follows:
2
1 8 mm/0.4 in
Mount the managed switch to the wall by drilling two pilot holes
3.7 inches (95 mm) apart, attaching the provided anchors and screws to
the wall, then sliding the switch into position on the screws.
The switch should have a minimum of 5 inches (130 mm) of clearance on all
sides.
Insecure mounting may damage the device or cause injury.
W
ARNING
Cisco is not responsible for damages incurred by insecure wall-
mounting.
Connecting Network Devices
2
To connect the switch to the network:
Connect the Ethernet cable to the Ethernet port of a computer,
S
1
TEP
printer, network storage, or other network device.
Connect the other end of the network Ethernet cable to one of the
S
2
TEP
numbered managed switch Ethernet ports.
The Ethernet port light turns green when the connection is active.
Refer to
details about the different ports and LEDs on each switch.
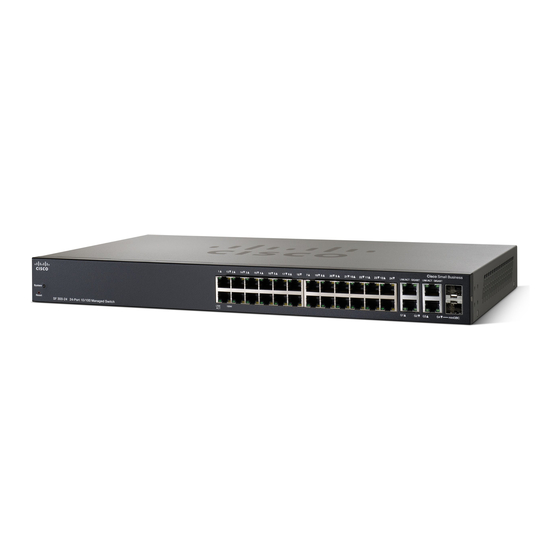
Cisco 300 Series Managed Switches
1
2 22.2 mm/0.9 in 3 6.8 mm/0.3 in 4 17.6 mm/0.7 in
Features of the Cisco 300 Series Managed Switch
3
4
for
5