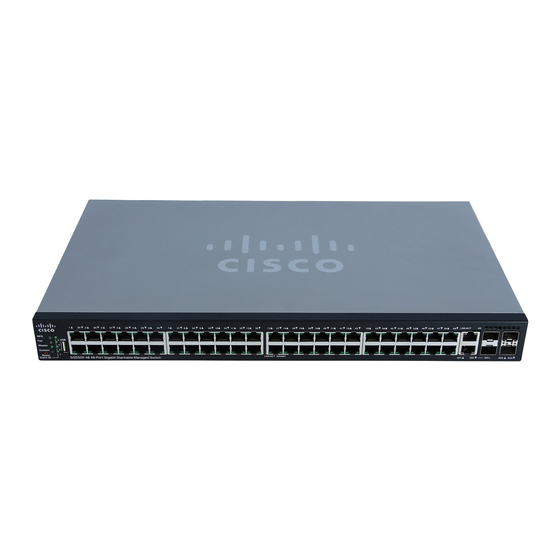
Cisco 550X Series 빠른 시작 매뉴얼 - 페이지 3
{카테고리_이름} Cisco 550X Series에 대한 빠른 시작 매뉴얼을 온라인으로 검색하거나 PDF를 다운로드하세요. Cisco 550X Series 21 페이지. Stackable managed switches
Cisco 550X Series에 대해서도 마찬가지입니다: 빠른 시작 매뉴얼 (21 페이지)

Mounting the Cisco 550X Series Stackable
2
Managed Switches
There are two ways to physically install the switch:
• Place the switch on a flat surface. To place the switch on a desktop,
install the four rubber feet (included) on the bottom of the switch.
• Mount the switch in a standard rack (1 rack unit high).
Placement Tips
Do not deploy the switch in a location where any of the following
conditions exist:
• Ambient Temperature—To prevent the switch from overheating, do not
operate it in an area that exceeds an ambient temperature of 122°F
(50°C).
• Air Flow—Be sure that there is adequate air flow around the switch.
• Mechanical Loading—Be sure that the switch is level and stable to
avoid any hazardous conditions.
• Circuit Overloading—Adding the switch to the power outlet must not
overload that circuit.
These switches must be supplied by power from the building in which
they are used or from UL listed information technology (ITE) equipment. For
assistance with obtaining a power supply, contact your Cisco
Representative.
Rack Mounting
You can mount the switch in any standard size, 19-inch (about 48 cm) wide
rack. The switch requires 1 rack unit (RU) of space, which is 1.75 inches
(44.45 mm) high.
For stability, load the rack from the bottom to the top, with the
C
AUTION
heaviest devices on the bottom. A top-heavy rack is likely to
be unstable and might tip over.
Cisco 550X Series Stackable Managed Switches Quick Start Guide
3
