Cisco Aironet 350 Series 빠른 시작 매뉴얼 - 페이지 8

{카테고리_이름} Cisco Aironet 350 Series에 대한 빠른 시작 매뉴얼을 온라인으로 검색하거나 PDF를 다운로드하세요. Cisco Aironet 350 Series 12 페이지. Managed switches
Cisco Aironet 350 Series에 대해서도 마찬가지입니다: 릴리스 정보 (14 페이지), 빠른 시작 매뉴얼 (16 페이지), 빠른 시작 매뉴얼 (12 페이지), 빠른 시작 매뉴얼 (12 페이지), 빠른 시작 매뉴얼 (2 페이지), 매뉴얼 (10 페이지), 자세히 알아보기 (16 페이지), 빠른 시작 매뉴얼 (5 페이지)
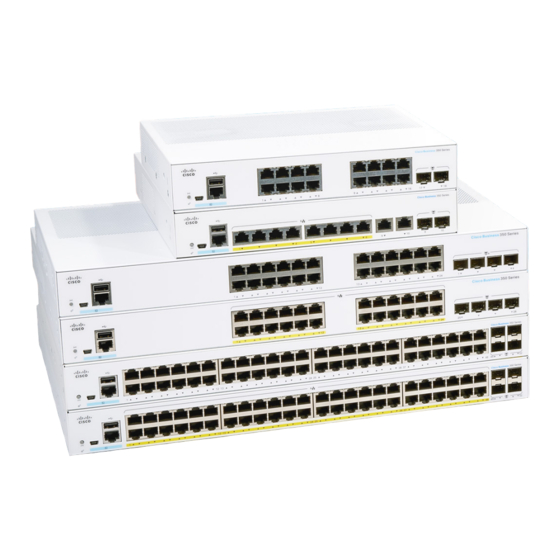
Cisco Aironet 350 Series 빠른 시작 매뉴얼
5
When you receive a message indicating that Windows has finished the installation, click
Finish.
6
Remove the CD from your computer's CD-ROM drive.
7
Double-click My Computer, Control Panel, and System.
8
In the System Properties window, click the Hardware tab.
9
Click Device Manager.
10
In the Device Manager window, double-click Network Adapters.
11
Right-click the Cisco Systems wireless LAN adapter.
12
Click Properties.
13
In the Properties window, click the Advanced tab.
14
In the Advanced window, select Client Name and enter your computer's unique client name
in the Value dialog box.
15
Select SSID and enter your RF network's case-sensitive SSID in the Value dialog box. Click
OK.
6
16
If you are not connected to a DHCP server, follow these steps:
(a) Double-click My Computer, Control Panel, and Network and Dial-up Connections.
(b) Right-click Local Area Connection.
(c) Click Properties, Internet Protocol (TCP/IP), and Properties.
(d) Click Use the following IP address and enter the IP address, subnet mask, and default
gateway address of your computer, which can be obtained from your system
administrator. Click OK.
(e) In the Local Area Connection Properties window, click OK.
17
If you are prompted to restart your computer, click Yes.