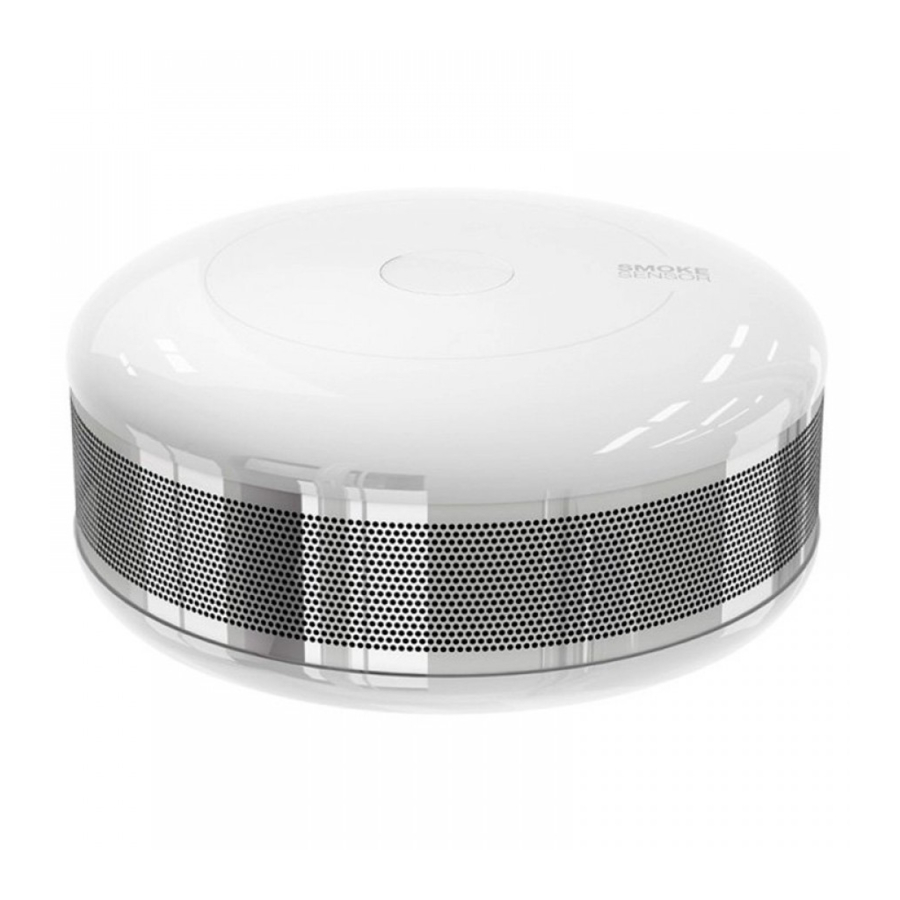
FIBARO Smoke Sensor 짧은 서비스 매뉴얼 - 페이지 2
{카테고리_이름} FIBARO Smoke Sensor에 대한 짧은 서비스 매뉴얼을 온라인으로 검색하거나 PDF를 다운로드하세요. FIBARO Smoke Sensor 3 페이지.
FIBARO Smoke Sensor에 대해서도 마찬가지입니다: 사용 설명서 (20 페이지)

First step to provide professional support and service is proper diagnose of failure. To avoid sending
fully functional devices to warranty service, please follow step by step guide below.
STEP 1. Check the battery.
To check the battery You will need voltmeter. Open the casing by turning it clockwise. Touch
voltmeter contacts with battery poles. Remember to make a measurement while battery is
connected. Properly working battery should indicate voltage between 3 [V] to 3,3 [V]. If You
don't h ave any voltmeter, please simply try to change the battery from other, efficient module.
STEP 2. Resetting sensor.
The Fibaro Smoke Sensor reset erases the EEPROM memory, including all information on
the Z-Wave network and the main controller.
Reset procedure:
-make sure the battery works and is in place;
-press and hold the B-button for few seconds until the LED turns white;
-after short sound signal release the B-button;
-wait until the visual indicator turns yellow;
-again press the B-button briefly.
Successful reset will be confirmed with the LED changing color to red.
STEP 3. Excluding and including sensor from Z-Wave Network.
Before every inclusion, sensor must be excluded from Z-Wave network. This can be done in
two ways, resetting sensor or:
-set main controller in learn mode (delete device mode);
-press B-button three times briefly;
-after procedure in main controller ends, take out battery from module;
-put battery in place again, LED should turn red.
To include sensor into Z-Wave network, please follow:
-set main controller in learn mode (add device mode);
-press B-button three times briefly;
-sensor should be added to device panel. Press B-button three times briefly to wake it up;
